
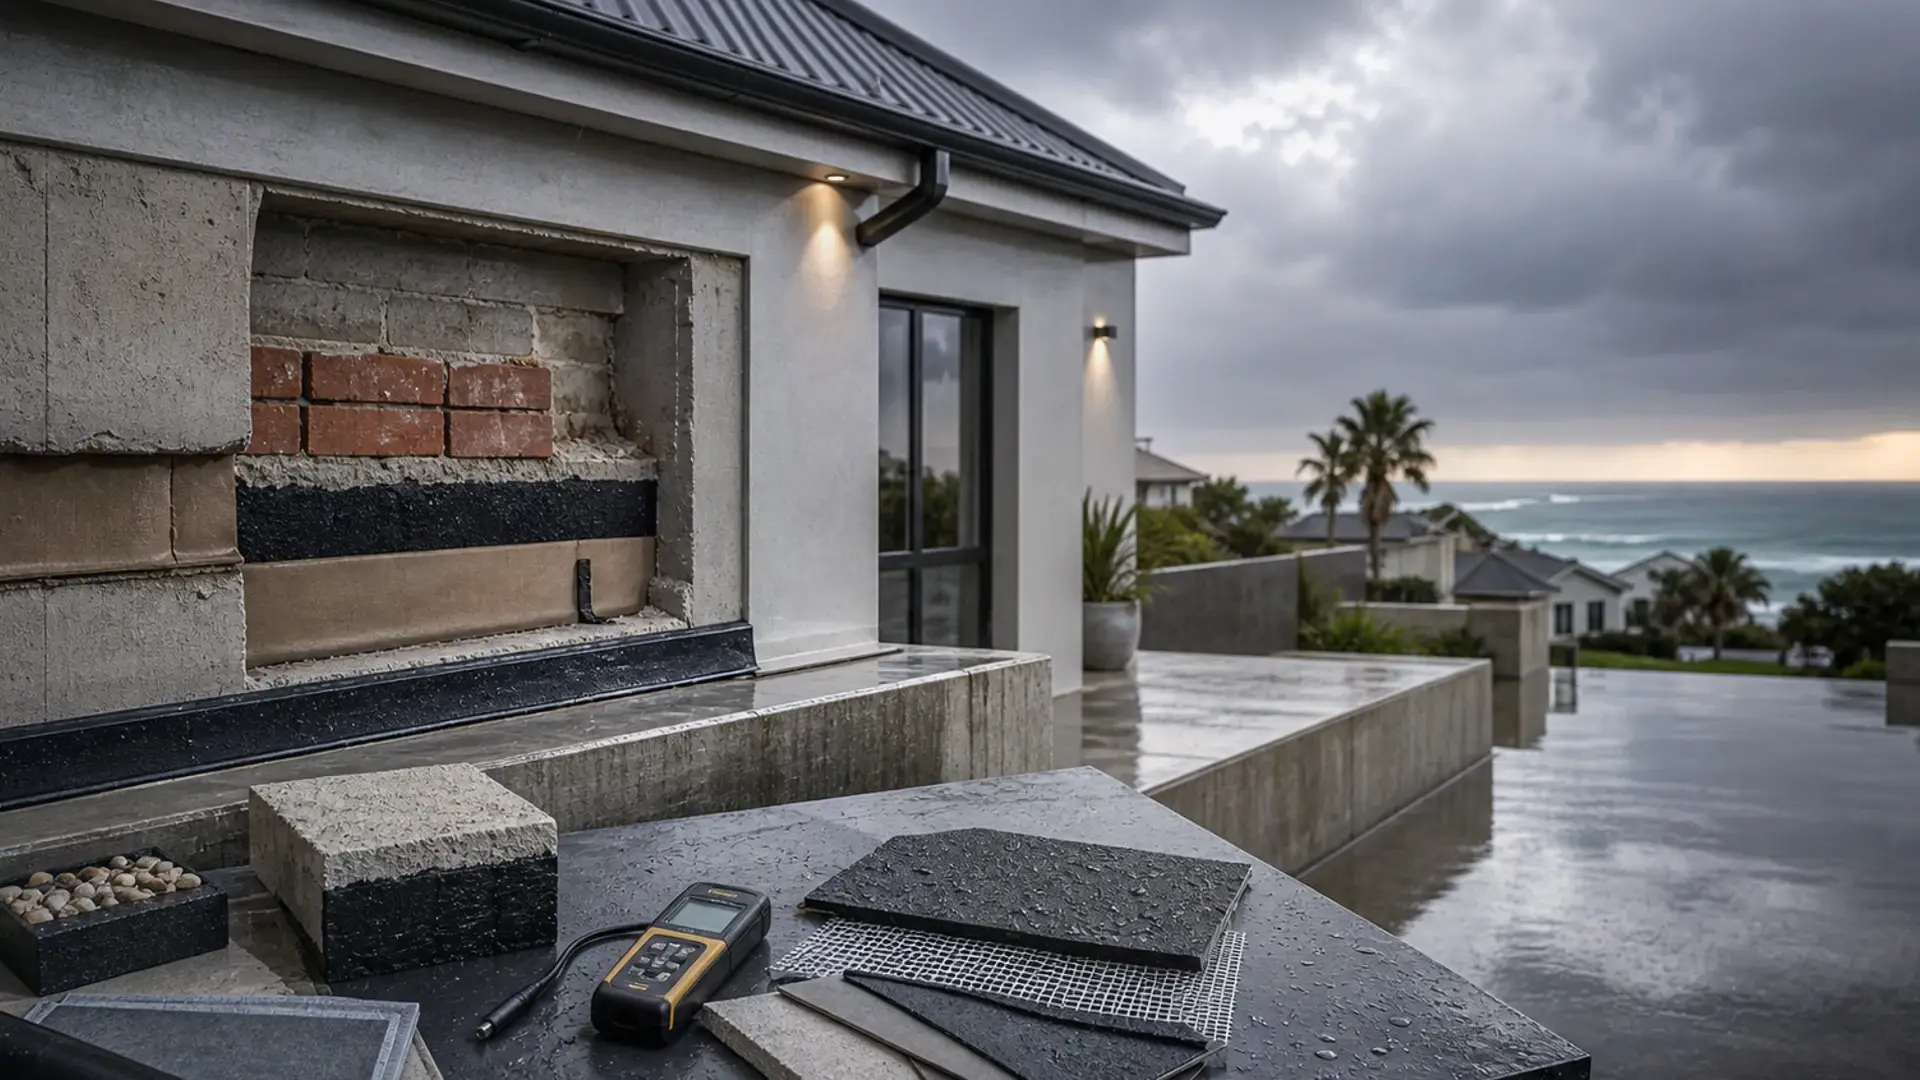
Bathroom Waterproofing, Explained
Where membranes go, the flood test, and the wet-area basics every shower rebuild needs
In short
Bathroom waterproofing explained – where membranes go, the flood test, and the SANS-aligned basics every shower rebuild needs.
15 min read
On this page
Curious whether a simple renovation will stop leaks for good? With bathroom waterproofing explained, you can see why a tiled finish alone is not enough in Benoni. That belief often costs time and money.
BS 5385 sets the local standard for protecting wet areas in homes. Proper waterproofing must form a continuous barrier so water cannot reach timber or subfloor framing.
This short guide shows where a membrane sits, why the flood test matters, and the wet-area basics every owner should confirm in writing. Expect clear notes on membranes, sealing tape and system sequencing so your shower areas and walls stay dry.
Use this as a quick check before you request quotes. Confirm materials, labour, approvals and manufacturer guidelines for every membrane layer to avoid common moisture problems and secure a waterproof bathroom that lasts.
Why Bathroom Waterproofing Explained is Essential for Benoni Homes
In Benoni, high humidity and older construction make moisture control a top priority for any home.
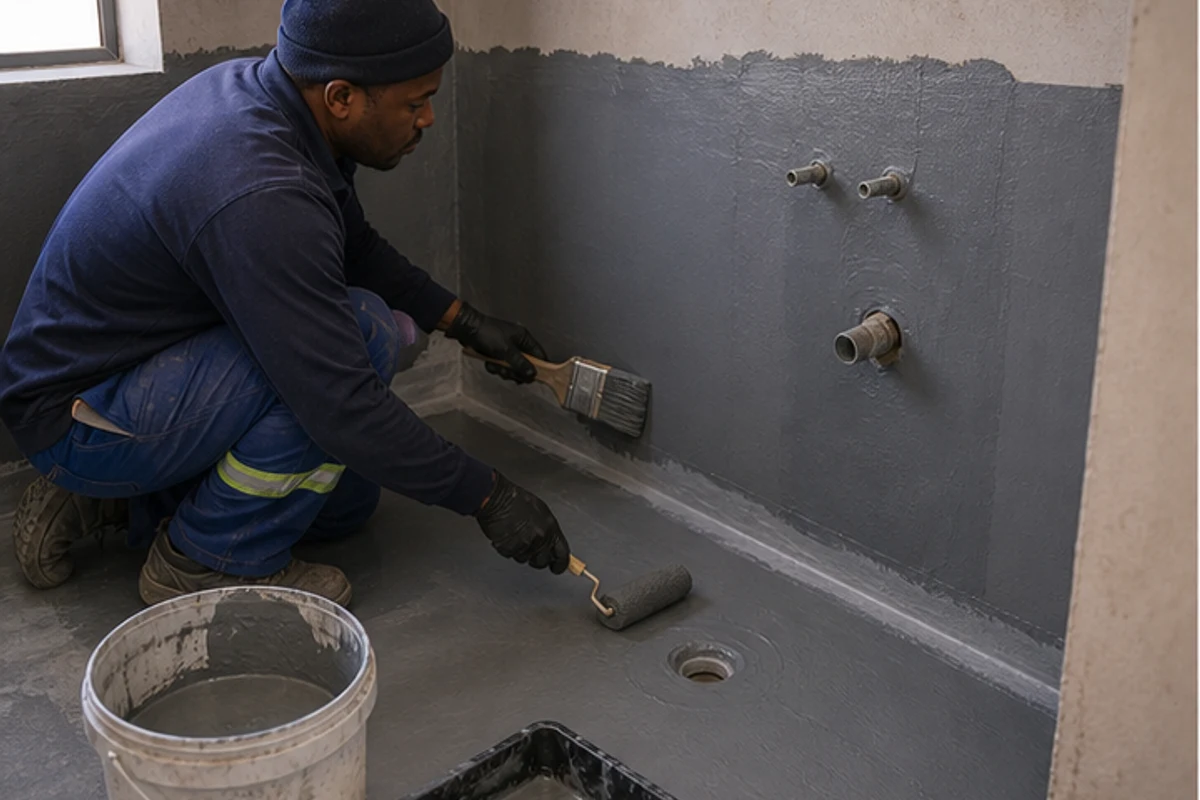
Many local properties were built before modern standards. Hidden leaks often start behind tiles and under floors. Left unchecked, they lead to rot, mould and costly repairs.
Investing in proper waterproofing protects the structure and keeps your house marketable. It is a sensible step when planning bathroom renovations or routine maintenance.
- Older Benoni homes frequently lack modern membranes, so inspection is crucial.
- Meeting South African building standards reduces the chance of future structural problems.
- A well-sealed wet area preserves resale value and lowers long-term bathroom renovation costs.
Before you request quotes, confirm materials, labour, approvals and warranties in writing, and check typical waterproofing prices. This ensures the work matches local requirements and protects your investment.
The Hidden Risks of Skipping Moisture Protection
Skipping moisture protection in a Benoni renovation often starts a slow, costly chain of failures. Small lapses let water find timber and subfloor cavities where problems grow unseen.
Structural damage
Rotting joists and weakened supports
When moisture reaches floor joists, timber decays. Rot reduces load capacity and forces costly repairs or replacement of structural members.
Mould and rot
Health risks and hidden spread
Mould grows in dark, damp voids behind tiles laid without proper prep by tiling contractors. This harms indoor air quality and fast-tracks material failure in your home.
- Our failure gallery shows tiles popping and damp patches where the underlying membrane step was skipped.
- Moisture trapped behind tiles — a risk when tiling over existing tiles — causes grout to crack and tiles to delaminate.
- Long-term water ingress often leads to rotting joists and ruined finishes — repair costs rise with time.
| Failure Cause | Visible Sign | Likely Consequence | Typical Repair Time |
|---|---|---|---|
| Missing membrane at shower tray | Popped tiles, loose grout | Wall tile replacement; timber joist repair | 1–3 weeks |
| Poor junction sealing | Damp patches on plaster | Mould remediation; strip and reseal | 1–2 weeks |
| Porous grout and gaps | Staining, musty smell | Regrout; replace backer board if rotten | 3–10 days |
| Ignored pipe penetrations | Slow leaks, damp skirting | Pipe access repair; local timber replacement | 3–14 days |
Takeaway: Confirm waterproofing steps in writing so small defects do not become large building failures. Early checks save time and money.
Understanding the Core Components of a Waterproofing System
Effective waterproofing depends on a continuous barrier made from compatible products and careful application.
A complete system uses membranes, coats, sealing tape and screeds so tiles and finishes stay dry. Each component must link to the next to stop moisture reaching timber or subfloor framing.
Choose high-quality products made for wet areas in Benoni. The right materials protect your home from water damage and preserve the structure over time.
- Membranes and sealing tape create the basic barrier across all surfaces.
- Compatible primers and coats ensure each layer bonds correctly.
- Screeds and falls direct water toward drains and away from sensitive joins.
- Follow every installation step to maintain the barrier’s integrity.
| Component | Primary Role | Why it matters |
|---|---|---|
| Membrane | Continuous liquid or sheet barrier | Prevents moisture ingress to substrate |
| Sealing tape & seals | Reinforce junctions and penetrations | Stops leaks at corners, drains and pipe entries |
| Primer & coats | Improve adhesion between layers | Ensures long-term bond and system compatibility |
| Screed & falls | Form correct drainage slope | Prevents standing water that causes surface damage |
Tip: Use a single manufacturer’s system where possible. This reduces mismatch risk and helps secure a warranty for your bathroom waterproofing project.
Comparing Liquid Membranes and Sheet Systems
Different membrane systems give distinct strengths for walls, floors and showers. Choose a product that matches your subfloor and the expected water load.
Liquid Tanking Benefits
Liquid membranes are applied at about 1mm thickness, usually in two coats with a six-hour lag. They form a seamless, flexible barrier that suits standard walls and shower enclosures.
Advantages:
- Quick to apply and easy to follow around pipe penetrations.
- Good for tiled surfaces and irregular corners.
Sheet Membrane Advantages
Sheet systems deliver high durability and crack isolation. They are ideal for wetrooms, floors and timber-based structures where strength matters most.
Hybrid Approaches
Many installers combine liquid on walls and sheet membranes on floors to ensure total protection. Proper tape and sealant at joints prevents leaks at corners and penetrations.
| System | Best Use | Key Benefit |
|---|---|---|
| Liquid membrane | Walls, showers, quick repairs | Seamless, flexible coverage |
| Sheet membrane | Wetroom floors, timber floors | Durable, crack isolation |
| Hybrid | Combined floors and walls | Optimised protection and longevity |
Manufacturer note: Mapei and BAL are reliable for liquid products; Impey and Schluter are trusted for sheet systems. Always follow the manufacturer’s instructions to ensure the system performs as intended.
Preparing Your Substrate for Long-Term Success
A stable substrate is the single most important factor that decides whether a wet-area renovation lasts or fails.
Choose backer boards that suit the expected use. Cement boards or waterproof foam boards are the only acceptable substrate types for wet areas in a bathroom.
Never apply membranes over standard plasterboard or painted surfaces. That mistake almost always leads to system failure and tile delamination.
Choosing the Correct Backer Board
Before you fix any tile, inspect and prepare the surface. Remove dust, oil and loose material so primers and membrane coats bond correctly.
Clean, dust-free surfaces and the correct primer are essential for adhesion. Professional installers verify stability, compatibility and moisture resistance before work continues.
- Use cement or waterproof foam boards to prevent moisture uptake into the substrate.
- Confirm the chosen products and system layers match the substrate and the floor or wall finish.
- Ask your contractor to confirm materials, labour and approvals in writing for your bathroom waterproofing scope.
The Critical Role of Junctions and Pipe Penetrations
A strong barrier fails quickly if joints, corners and pipe collars are overlooked during installation. In Benoni, those weak spots invite moisture into timber and subfloors. Make these areas a priority when you check a quote.
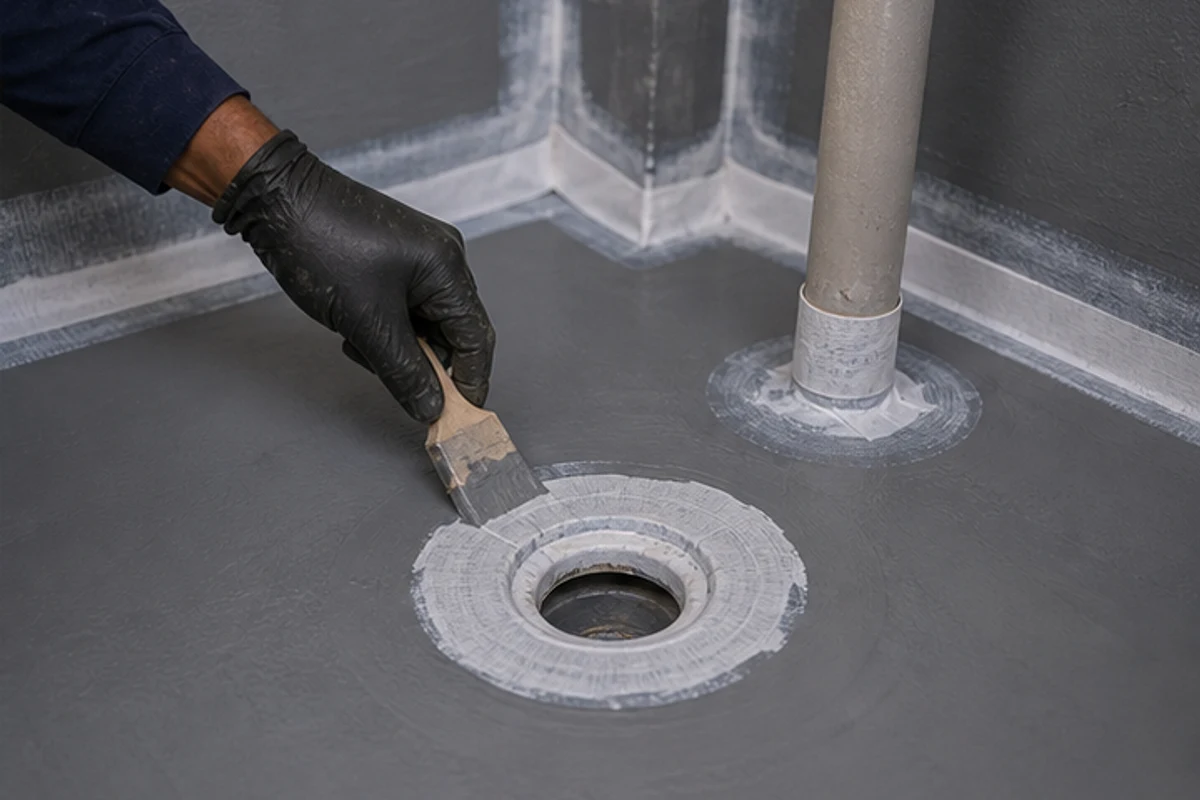
Ensure the waterproofing extends at least 300mm beyond the shower enclosure onto adjoining walls and floor. That extra overlap protects nearby finishes and gives the system room to cope with splash and humidity.
- Reinforce every floor-to-wall junction and internal corner with specialised tape and corner pieces.
- Fit puddle flanges at pipe penetrations to stop water tracking into the structure behind tiles.
- Use manufacturer-approved collars, seals and sealant for drains, waste points and service pipes.
- Inspect seals closely—professional installers check these details because a small gap leads to large repairs.
Tip: Ask your contractor to show product data sheets and how they will treat each joint. That written detail helps protect your home and keeps the shower and surrounding areas dry for years.
Why the Flood Test is a Non-Negotiable Checkpoint
A reliable flood test proves the installed membrane and seals will hold before any tile work starts. In Benoni, this test protects your home from hidden water damage and costly repairs.

The waterproofing system must cure—typically 12 to 24 hours—before you perform the flood test. Only then is the layer ready for a 12–24 hour static water hold on the floor or shower area.
During the test, check every corner, pipe penetration and floor-to-wall junction. Look for damp patches on the wall, drops at joints or wet spots around drains.
- Non-negotiable: perform the water hold before tiling.
- If moisture appears, repair the membrane, tape or sealant and re-test.
- Contractors use this period to confirm products and manufacturer instructions work on site.
Skip this step and you risk grout failures, tile delamination and structural moisture damage. A simple flood test is the most effective way to confirm your waterproofing bathroom system truly forms a continuous barrier.
Managing Vapour and Humidity in Wet Rooms
Control of steam and indoor humidity is as important as the membrane under your tiles. High humidity from hot showers can damage paint, finishes and even the joists beneath floors if air sits stagnant. Good ventilation keeps surfaces dry and reduces mould risk.
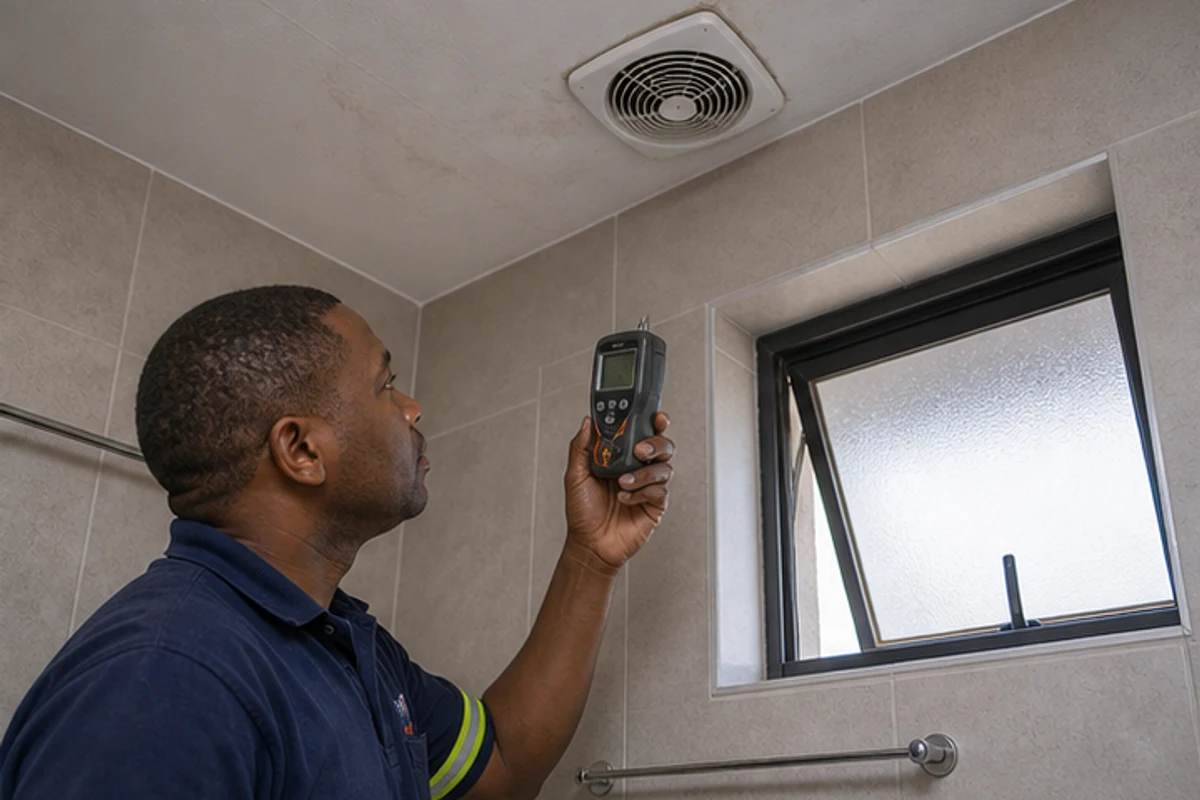
Ventilation strategies
Install an extractor fan with a humidity sensor to switch on automatically after a shower. This removes moist air quickly and limits condensation on ceilings and walls.
- Fit a fan sized for the room volume and duct it to the outside where possible.
- Use trickle vents or an opening window to allow steady airflow when the room is not in use.
- Apply vapour-resistant paints to upper walls and ceilings for extra protection against moisture attack.
- Combine active extraction with passive ventilation to balance air changes without drafts.
Lane statement: internal wet rooms need high-quality ventilation systems to manage the moisture from frequent hot showers. Even fully waterproofed floors and walls can show flaking paint or discolouration if air is not moved and dried.
| Problem | Simple Fix | Benefit |
|---|---|---|
| Persistent condensation | Humidity-sensor extractor fan | Automatic purge of moist air |
| Stained ceilings | Vapour-resistant paint + ventilation | Reduced discolouration and peeling |
| Poor airflow | Trickle vents or window upgrade | Constant passive ventilation |
Combine a robust membrane system with effective ventilation and you protect the home, finishes and indoor air quality for years. Ask contractors to show fan capacity, duct runs and product data in writing so you know the solution suits your floors and showers.
Selecting the Right Materials for Your Specific Project
Selecting materials that match your subfloor and layout prevents costly failures later.
Start by identifying the floor type: timber or concrete. That choice directs the system, the membranes and the fixings you must use.
Stick to a single manufacturer’s range where possible. Mapei, BAL and Impey offer compatible systems that simplify warranties and reduce mismatch risk.
Factor in cure times when you plan tiling. Rushing the next layer risks adhesion loss and future water damage.
- Choose products rated for the specific areas and expected shower use.
- Prioritise high-quality membrane and seals to protect timber and substrates.
- Ask contractors for technical datasheets and cure times in writing before work starts.
| Subfloor Type | Recommended System | Key Benefit |
|---|---|---|
| Timber floors | Sheet membrane + priming (Impey) | Crack isolation and rigidity |
| Concrete floors | Liquid membrane coat (Mapei/BAL) | Seamless coverage; easy detailing |
| Hybrid areas | Liquid on walls + sheet on floor | Optimised compatibility and longevity |
Tip: Balance product cost with long-term protection. Paying a little more now for proven systems saves repair time and budget later.
Connecting with Trusted Professionals for Your Bathroom Renovation
A clear, itemised quote protects you from surprise costs and poor-quality finishes later. In Benoni, the right contractor understands local materials, common subfloor types and how a shower area should be detailed.
Our Quote Request Process
Use our platform, buildingcontractorsinbenoni.co.za to request up to three building quotes, or up to five where available. You can invite independent contractors to visit your home and review scope, plans and site access before they price the job.
Ask each contractor to include an itemised list covering waterproofing materials, labour, tile supplies, drain fittings and any floor preparation. That level of detail helps you check timelines, approvals and warranty conditions.
Benefits of Comparing Quotes
- Compare different approaches and the contractor’s local experience without pressure.
- Evaluate how each quote handles approvals, finishes and provisional costs to fit your budget.
- Choose a contractor who documents scope, materials and workmanship so your shower, tile and floor work is protected from the start.
CTA: Request itemised waterproofing quotes through our platform to make an informed choice and protect your project from day one.
Securing Your Investment with Professional Waterproofing Standards
Invest in systems and installers who follow the codes and document each material, layer and step.
BS 5385 remains the benchmark for a leak-free result. Use professional-grade membranes, compatible products and certified installers to give your bathroom long-term protection.
Good installation seals every corner, wall junction and floor run so moisture cannot reach the structure under your tiles.
Ask for datasheets, a flood test and written confirmation of materials, cure time and manufacturer warranty before work starts. That proof protects your investment and reduces future damage.
Choose quality systems, insist on tested results, and your wet-area will stay dry and valuable for years.
FAQ
What areas in a bathroom should be covered by a membrane?
The wet areas around showers, baths, basins and WC pans need a continuous membrane. Cover the floor and the lower 150–300mm of walls as a minimum, and seal corners, junctions and pipe penetrations with reinforced tape or fabric. Also extend membranes behind wall tiles where showers or baths are fitted to prevent moisture tracking into studs or screed.
How long does the flood test take and what does it show?
A flood test typically runs 24 hours. You plug fittings, fill the sealed area to a set depth and monitor water level. It shows whether the membrane and seals hold under load and reveals leaks at joints, upstands or penetrations before tiling. Use the manufacturer’s recommended depth and document results for warranties.
Liquid membranes or sheet systems — which is better?
Both work when installed correctly. Liquid membranes give seamless coverage and suit complex shapes. Sheet membranes provide factory-controlled thickness and can be faster on large flat floors. Consider hybrid systems: liquid at junctions and sheets on large areas. Choose products from reputable brands and confirm compatibility with tiles and adhesives.
Do I need a special backer board behind tiles?
Yes. Use cementitious backer boards or fibre-cement boards rated for wet areas rather than plasterboard. They resist swelling and provide a stable substrate for tiles and membranes. Follow manufacturer instructions for fixing, sealing joints and treating screw heads before applying membranes.
How are pipe penetrations and junctions reliably sealed?
Use preformed collars, flexible flashing, or reinforced tape with compatible sealant at all penetrations. Create a bonded fillet in corners before applying membranes to avoid sharp angles. Proper detailing at junctions prevents stress cracks and is often where leaks originate, so inspect these areas during installation and the flood test.
What ventilation is required to manage vapour and humidity?
Mechanical extraction sized to the room volume and usage is best — for example, an extractor with a minimum 25–60 l/s rating for typical domestic showers. Ensure ducting discharges outside, not into ceiling voids. Good ventilation reduces condensation, protects finishes and prolongs grout and sealant life.
How do I choose the right membrane product for my project?
Match the membrane to the substrate, tile adhesive and expected movement. Check product data sheets for adhesion, tensile strength, coverage rates and compatibility with local cementitious screeds. Buy from reputable brands used by South African contractors and ask for technical support or datasheets when getting quotes.
Is a professional installer necessary, or can I DIY the work?
DIY is possible for experienced renovators on simple projects, but certified installers reduce risk. Professionals know correct substrate prep, product sequencing, detailing and flood testing. For multi-room wet areas or high-value properties in Benoni, hiring a contractor gives better warranty chances and avoids costly remedial work.
What should I get in writing from a contractor before work starts?
Ask for a written scope, product names and datasheets, warranty terms, expected start and completion dates, labour and material costs, and flood-test confirmation. Confirm how they handle unforeseen issues, who arranges municipal approvals if needed, and whether they provide a post-installation report and photos.
How does waterproofing fit into my renovation budget and timeline?
Waterproofing adds material and labour costs but prevents major future repairs. Allow time for substrate drying, membrane curing, a 24-hour flood test and tile adhesive curing — typically adding several days. When requesting quotes, compare included products, flood-test procedures and warranty terms to assess value, not just price.
What warranty or guarantees should I expect?
Expect a workmanship warranty from the installer and a product warranty from the membrane manufacturer. Warranty lengths vary; get both in writing and check exclusions like improper maintenance or subsequent alterations. Keep records of the flood-test and approval documents to support any future claims.
How do I maintain tiled wet areas after installation?
Keep grout and sealant lines in good repair, avoid harsh chemicals, and ensure regular ventilation. Promptly repair cracked grout or loose tiles. Periodic inspections of junctions, shower trays and seals help catch issues early and protect the membrane beneath.
Can waterproofing prevent structural damage and mould?
Properly installed membranes and good ventilation greatly reduce the risk of moisture reaching structural timbers, plaster or screed, lowering the chance of rot and mould. They form a barrier that directs water to drains and prevents long-term deterioration when paired with correct detailing and maintenance.
How do I request quotes from local contractors in Benoni?
Provide clear project details: scope, areas to waterproof, tile choices, access constraints and timelines. Request up to three independent quotes or up to five where available, ask for product names, flood-test inclusion and examples of recent work in nearby suburbs. Confirm site visits before accepting quotes for accurate pricing.
Ready to compare?