
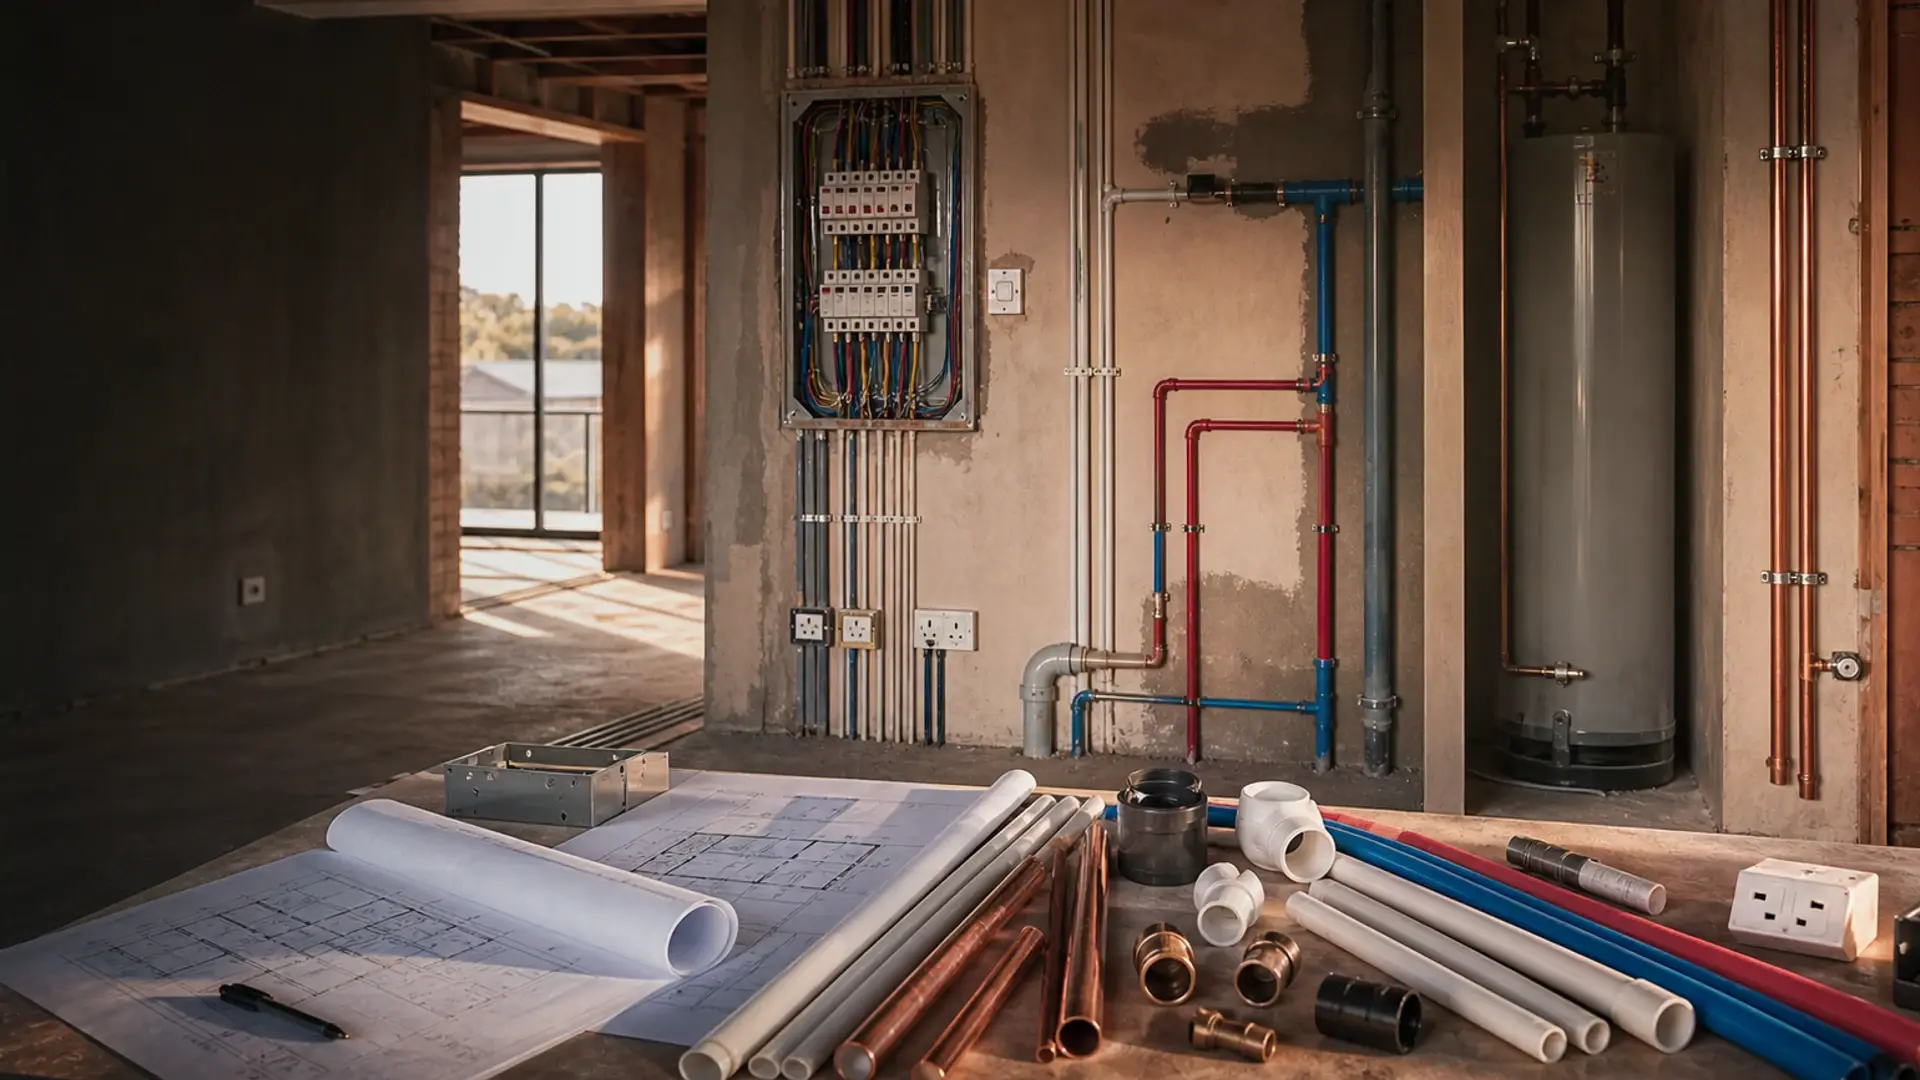
Inverter and Solar-Ready Wiring, Explained
What changes at the DB, changeover basics, and how to prep during a renovation – concepts only
In short
Inverter and solar-ready wiring explained – what changes at the DB, changeover basics and how to prep during a renovation.
17 min read
On this page
Curious whether a pre-wired property saves you money later? Planning a solar ready wiring house in Benoni can cut costs and hassle when you fit panels or an inverter down the line.
Experienced contractors say pre-wiring during construction is far cheaper than chasing cables through finished walls. This simple choice saves time and avoids invasive work.
In this guide you will find clear steps on what changes at the distribution board, and how a changeover system links to your existing energy layout. It explains the basics of panel installation and what to check in writing.
Visit buildingcontractorsinbenoni.co.za for local advice and to request up to three quotes from independent contractors. Use these notes to ask the right questions and to compare realistic costs, access needs and approval timelines for your home.
Understanding the Solar-Ready Concept
Designing your new home with prepared roof routes and electrical access simplifies future panel installation. This approach reduces labour, avoids invasive work and keeps costs lower when you add a system later.

A solar-ready design arranges roof space and conduit paths so installers can mount solar panels with minimal disruption. Placing entries near the distribution board and planning load capacity at build stage makes later connection straightforward.
“Prepare now to save time and expense later — good planning at build stage pays off when you add panels.”
- Optimised roof layout for best panel placement and structural support.
- Pre-installed conduits and clear electrical routes to the distribution board.
- Design checks to ensure the system integrates with existing power and meets electrical CoC compliance.
Talk to a registered electrical contractor in Benoni to confirm your roof and electrical design meets current standards for future solar energy integration.
| Feature | Benefit | When to confirm |
|---|---|---|
| Roof layout | Maximises panel yield and eases mounting | During design stage |
| Conduit routing | Reduces installation time and cost | Before plastering and finishes |
| Electrical provision | Ensures safe connection and future capacity | With electrical plan and approvals |
Why a Solar Ready Wiring House is a Smart Investment
Choosing to provision electrical routes during build saves months of retrofit work and lowers long-term expense. When you plan for future panels as part of a new home, installers spend far less time on site — lowering builder and artisan rates — and you avoid messy openings in finished walls.
Long-term cost savings
Installing panels during construction cuts project costs significantly. By arranging conduit and capacity early, you sidestep retrofit charges and extra labour.
Early provision reduces upfront disruption and keeps ongoing costs down.
Increased property value
Modern solar technology boosts curb appeal and resale value in Benoni and wider South Africa. A property with planned provision for a solar panel installation is more attractive to buyers who want lower running costs.
- Lower retrofit costs: no chasing cables through plastered walls.
- Quicker installation: fewer site hours and lower labour fees.
- Reliable power: a future solar system integrates cleanly with your electrical plan.
Essential Design Considerations for Future Energy
Plan the roof layout and electrical routes at design stage to avoid costly retrofits later. In Benoni, small choices on orientation and access make a big difference for later installs.
Key considerations include structural capacity, clear conduit paths and shade-free roof space. Setting aside dedicated roof area and conduit routes at design stage keeps a later solar install simple and avoids costly retrofits.
Plan for solar readiness early when you design a new home. Map the route from the main distribution board to the roof now. This reduces labour, keeps costs down and avoids cutting into finishes later.
- Check roof orientation and pitch for optimal panel placement.
- Confirm rafters and supports can carry future loads.
- Draw electrical pathways and leave conduit access points.
Discuss these considerations with your contractor and registered electrician. Ask for written notes on roof provision and conduit positions so your property is prepared for the transition to renewable energy without major structural change.
Optimising Roof Space and Orientation
Positioning panels correctly on your roof is one of the simplest ways to lift long-term system performance. Start by identifying the largest, unobstructed roof surfaces and note their orientation.
Roof pitch and orientation
A south-facing roof with a pitch between 30° and 45° is ideal for maximum energy production throughout the year. Mark roof slopes and prioritise those with the best orientation for the main array.
Managing mechanical obstructions
Keep vents and chimneys grouped near the ridge to save usable roof space. This approach preserves broad, clear runs for panels and simplifies mounting.
Shading analysis
Even small shadows from trees, vents or nearby structures reduce performance measurably. Carry out a shading study at different times of day and year before fixing conduit routes.
- Group obstructions near the crest to protect large panel areas.
- Record azimuth and tilt of candidate roof faces for installers.
- Plan access routes for maintenance without disturbing the array.
| Factor | Recommended action | Benefit |
|---|---|---|
| Orientation | Choose south-facing slopes first | Higher annual yield |
| Pitch | Design for 30°–45° where possible | Consistent year-round performance |
| Obstructions | Group vents and chimneys at ridge | Maximises clear roof space |
| Shading | Perform a seasonal shading survey | Prevents unexpected output losses |
Managing Electrical Infrastructure and Conduit Routing
Plan a clear route from the electrical room to the attic now. This step saves time and avoids cutting into finishes later.
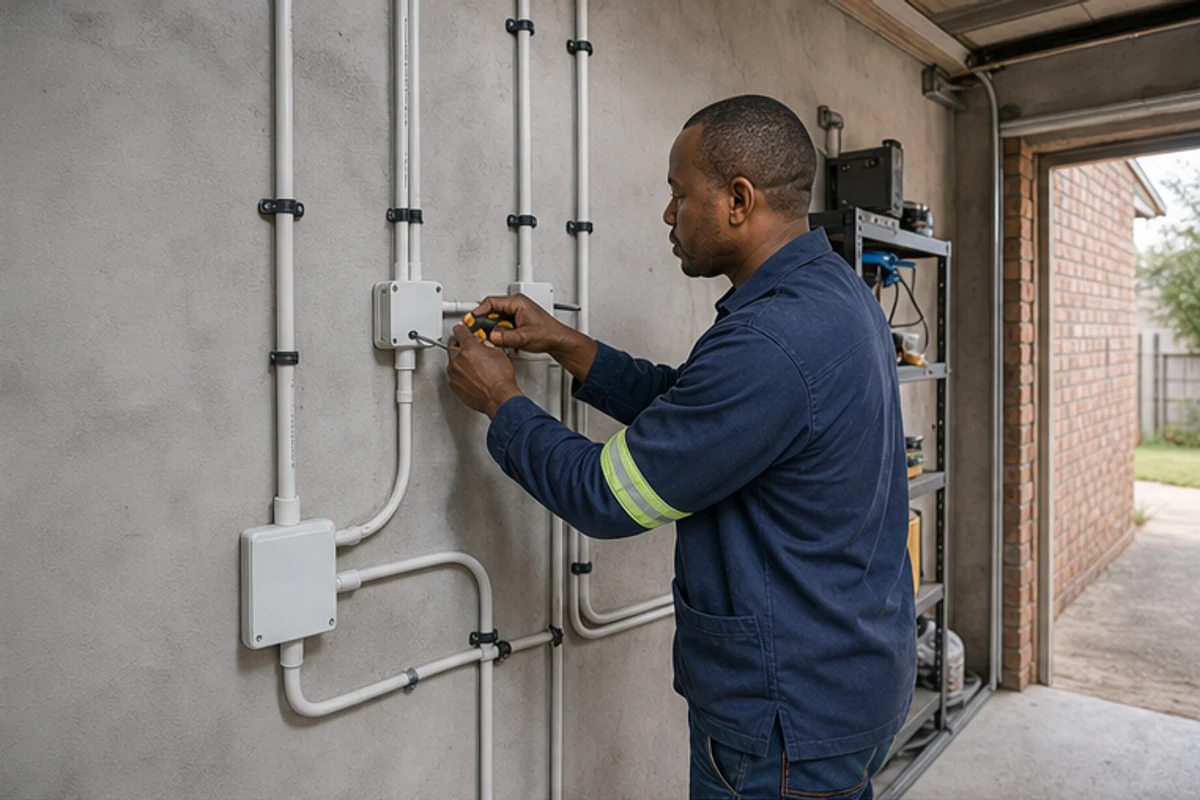
Install at least one 1.5“ conduit from the electrical area to the attic to give installers easy access for panel cabling. A dedicated conduit reduces labour and future costs.
Keep access points and the attic entry unobstructed. Builders should leave a labelled chase and make space for equipment near the main panel.
- Run conduit inside walls where possible to protect wiring and preserve the exterior look.
- Use 1.5“ conduit to provide adequate space for multiple cables and future upgrades.
- Ensure easy access to the electrical area so connections and inspections take minimal time.
| Conduit size | Recommended location | Primary benefit | Notes |
|---|---|---|---|
| 1.5 inch | Electrical room → attic | Allows multiple cable runs; reduces retrofit time | Label both ends; leave pull string |
| 1 inch | From attic to roof penetration | Protects cables through roof area | Use UV-rated conduit externally |
| Flexible conduit | Near panels and mounting points | Eases final routing to equipment | Keep short runs to avoid signal issues |
The Role of the Distribution Board and Changeovers
Place the distribution board at the centre of your plan to make future installs straightforward. Give a clear, serviced area beside the electrical panel for inverter and changeover equipment so installers don’t need to break into finishes later.
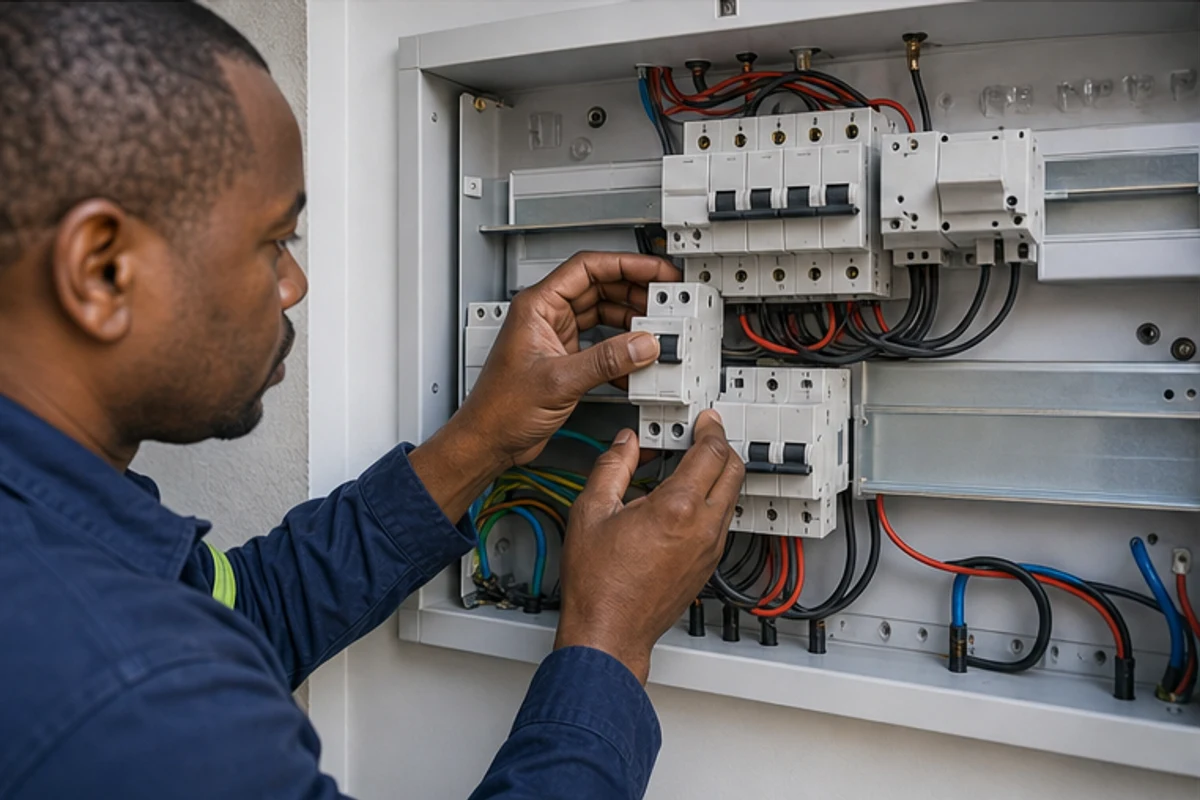
Changeover switch basics
Changeover switches let you switch sources safely during load-shedding or when a solar system is feeding part of the network. Installers fit these near the main electrical panel for quick access.
A qualified electrician should confirm the electrical panel is sized correctly to cope with the extra load from a panel array. Incorrect sizing risks nuisance trips and extra cost at commission.
Earthing and safety protocols
Proper earthing protects your property and equipment. Follow local regulations and use tested earth rods and bonding to the distribution board.
- Space recommendation: reserve roughly 2’ x 3’ near the electrical panel for inverters, changeover switches and cable runs.
- Compliance: have a registered electrician sign off all connections and earthing work.
- Equipment placement: keep clearance for ventilation and maintenance access.
| Item | Recommendation | Benefit |
|---|---|---|
| Area near panel | 2’ x 3’ | Space for inverter and changeover gear |
| Panel sizing | Checked by electrician | Avoids overloads and tripping |
| Earthing | Bonded and tested | Protects people and equipment |
Prepare the distribution board now and you simplify later connection of panels, protect your power supply and reduce time on site for contractors in Benoni.
Addressing Benoni Load-Shedding Demands
Benoni residents face frequent outages, so fitting a robust backup system has moved from luxury to necessity.
Many homes in Benoni now plan for uninterrupted power by including provision for solar panels during building or renovation. This reduces disruption and speeds later installation.
Addressing load-shedding demands requires a dependable system that supplies essential circuits when the municipal grid is down.
- Reliable performance: a robust system keeps lights, refrigeration and medical equipment running.
- Energy storage: store and use power efficiently to ride out scheduled outages.
- Design advice: consult local professionals to size panels and battery capacity for your needs.
Preparing your property for panels is a proactive step toward energy independence in Benoni’s challenging electrical environment. Ask contractors for a clear plan, a parts list and realistic timelines before you accept quotes.
“Integrating panels is a proven strategy for Benoni homeowners to keep comfort and productivity during national supply shortfalls.”
Ensuring Compliance with Registered Electrician Standards
In Benoni, legal safety for any future panel provision starts by hiring a registered electrician and checking credentials before work begins.
The Certificate of Compliance (CoC) is mandatory in South Africa. A CoC confirms that the installation meets national safety rules and that the electrical panel and related circuits conform to regulation.
Always ask for the CoC once trades finish. This document is your proof for insurers and future buyers. It also prevents delays when you request quotes or inspections later.
- All electrical work on your solar ready provision must be done by a registered electrician to meet legal standards.
- The CoC verifies the whole process from the electrical panel to the roof has been inspected and approved.
- Request a valid Certificate of Compliance immediately after any electrical contractor completes work.
- Keep the CoC with your property papers to protect insurance cover and resale value in Benoni.
Practical tip: Confirm the electrician’s registration number and ask to see a sample CoC before you accept a quote.
Structural Integrity and Load-Bearing Requirements
Before any array is fixed, a structural engineer must confirm that the roof can carry extra loads.
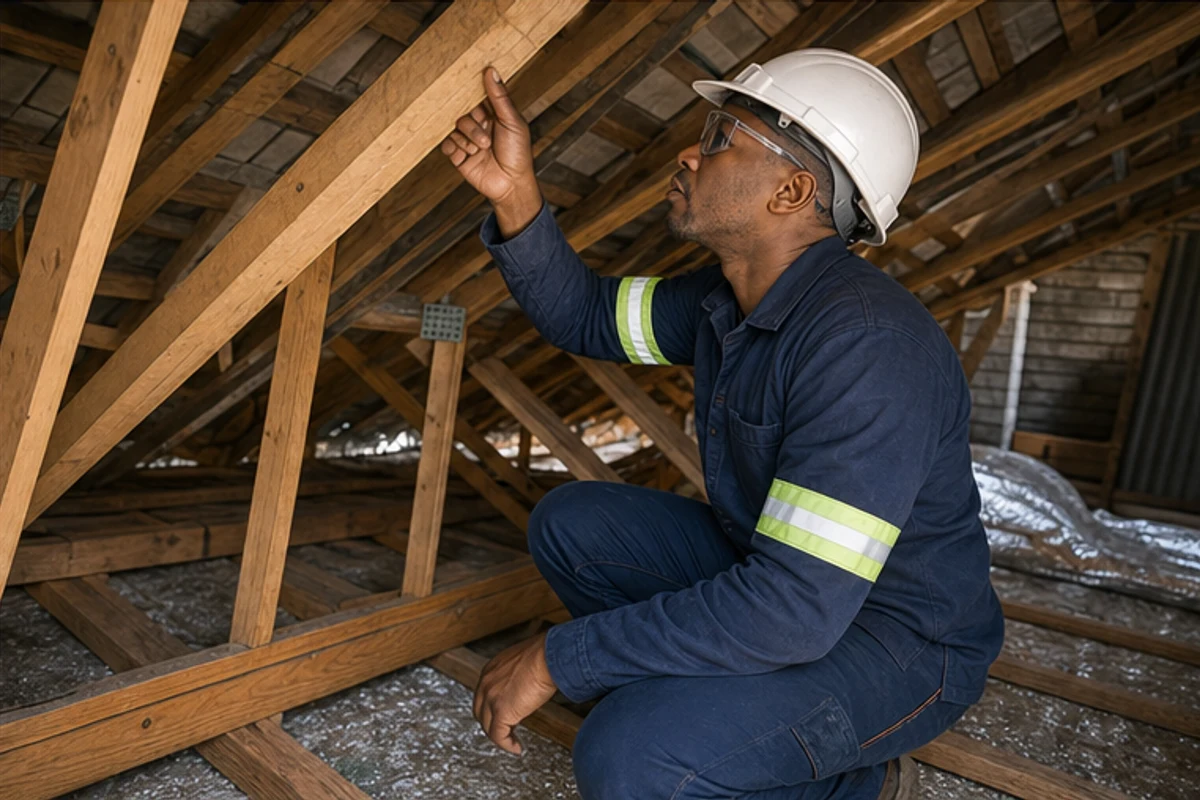
Make sure the structure will bear the added weight of a panel array. A quick visual check is not enough.
Structural considerations should inform the design of roof mounts and rafters. Early assessment prevents damage and keeps the project on schedule.
- Get a professional assessment of load-bearing capacity for the roof and rafters.
- Plan the roof space and fixing points so mounts sit over structural supports.
- Confirm placement of the electrical panel and nearby area for safe cable runs and equipment.
- Ask the engineer to provide a written sign-off to include with contractor quotes and approvals.
| Check | Why it matters | Who to hire |
|---|---|---|
| Rafter and truss load | Prevents sagging and structural damage | Structural engineer |
| Mounting points | Secures panel frames to a sound support | Registered contractor |
| Roof space assessment | Ensures adequate clear area and access | Engineer + installer |
| Electrical panel placement | Reduces cable runs and keeps systems accessible | Registered electrician |
Confirming these items early in Benoni building or renovation work avoids costly repairs later and makes future installation straightforward.
Avoiding Common Pitfalls During Construction
Small design choices now can cause major headaches when you come to install an array later. Make sure roof orientation and a shading study are completed early. A misplaced vent or chimney can shadow panels and reduce output.
Plan conduit size and route with the electrician while walls are open. Inadequate conduits or cramped access at the electrical panel lead to higher labour and material costs during installation.
Keep clear space beside the panel for changeover equipment and leave labelled chases to the attic. This saves time on site and avoids cutting into finished surfaces.
- Confirm roof faces and orientation for best panel placement.
- Group vents and chimneys to protect usable roof runs.
- Set conduit paths and leave pull cords for installers.
Manage the installation process on site. Ask contractors to note locations of penetrations, shading risks and structural fixings in writing. This protects you from unexpected costs and keeps the work on schedule.
| Common Pitfall | Immediate Fix | Benefit |
|---|---|---|
| Poor roof orientation | Confirm roof face during design | Maximises annual panel yield |
| Inadequate conduit | Install 1.5“ conduit with pull cord | Reduces retrofit time and labour costs |
| Shading from vents/chimneys | Group obstructions and run shading study | Prevents surprise production loss |
Integrating Solar-Ready Features into Renovations
Renovations give a rare, cost-effective chance to add conduit and circuits without ripping out finishes. Plan now and you avoid higher costs and messy rework later.
During a refit ask your electrician to install a dedicated conduit from the electrical panel to the attic and leave labelled chases. This small step makes future panel installation straightforward.
Upgrade the electrical panel while trades are on site. Increasing breaker capacity and reserving a clear space beside the panel saves time and future expense.
- Install at least one 1.5“ conduit with a pull string.
- Fit a reserved area for inverter or changeover equipment near the panel.
- Document conduit routes and panel notes for future installers and approvals.
Preparing your property during renovation reduces costs, protects finishes and increases resale value.
| Measure | Why do it now? | Benefit |
|---|---|---|
| Conduit + pull string | Easy to run while walls open | Reduces retrofit labour and costs |
| Panel capacity upgrade | Cheaper while electrician is on site | Avoids future panel overload and trips |
| Reserved equipment space | Saves cutting into finishes later | Faster, cleaner installation |
Connecting with Professionals via Our Platform
Find contractors who can visit your Benoni property, assess access and produce itemised quotes for electrical preparation and installation.
Use buildingcontractorsinbenoni.co.za to request up to three quotes, or up to five where available, from independent contractors. Our platform connects you to experienced tradespeople who understand local planning and compliance.
What you get:
- Site visits and written, itemised estimates covering materials, labour and approvals.
- Contractors who can advise on access, conduit routes and distribution board provision.
- Clear comparisons so you can choose the best value and schedule for the work.
Note: our platform does not perform construction. Independent contractors handle site surveys, final quotes, timelines and warranties.
Request electrical quotes today to start the process and make informed choices for any future solar installation. Use the quotes to confirm scope, costs and what must be recorded in writing before work begins.
Securing Your Future Energy Independence
Securing your future energy independence begins with simple, practical steps you can take today.
Start by planning space, conduit routes and a clear area beside the distribution board so any future system fits without extra work.
East or west-facing panels still deliver about 80% of a south-facing array, so flexibility in layout helps your long-term performance.
Investing in ready infrastructure for a future solar system protects your home’s value, improves power reliability and lets new technology be added with less disruption.
Request local quotes, get a registered electrician to sign off designs and keep written notes of routes and approvals to make later installation straightforward.
FAQ
What does “inverter and solar-ready wiring” mean for my Benoni property?
It means the electrical and roof preparations are in place so a photovoltaic inverter and panel array can be installed later with minimal changes. Typical work includes conduit from roof to the distribution board (DB), dedicated cabling capacity, space at the DB for an inverter or changeover, and labelled circuit provisions. This reduces installation time, labour and disruption when you choose equipment later.
What changes are made at the distribution board (DB) for a future inverter?
A registered electrician will reserve space for an inverter and place an isolated AC input or dedicated breaker, add a changeover or automatic transfer switch provision, and install clear labelling. Earthing and bonding points are upgraded if required. These steps make a future connection straightforward and compliant.
How does a changeover switch work for backup during load-shedding?
A changeover switch isolates the grid supply from your inverter or battery system when backup power is active. Manual or automatic models prevent back-feed to the grid and switch loads to the inverter circuits. Proper selection depends on intended backup loads and the inverter’s capability.
Which design considerations matter when planning for future panels and inverter?
Prioritise roof orientation and pitch, unobstructed roof space, access for installers, conduit routes, DB capacity, and structural load assessments. Also plan for shading, ventilation for the inverter, and an accessible mounting area for batteries if you expect storage later.
How much roof space and orientation do I need for a typical domestic array?
Most homes need a clear, north-facing area with adequate pitch (around 20–35° is good) for efficient generation. The exact area depends on panel efficiency and system size; a 3–5 kW system typically needs 18–30 m². A shading analysis will refine placement and expected performance.
What mechanical obstructions should I watch for on the roof?
Vents, chimneys, skylights, HVAC units and satellite dishes can block panels or complicate racking. Plan routes that avoid these, allow for maintenance access, and ensure tiles or sheeting can accommodate mounting feet without compromising waterproofing.
How do I check for shading and its impact on performance?
A shading analysis uses compass bearings, roof photos and on-site assessment at different times of day. Even partial shading on a string can reduce output; planning optimises panel layout or specifies microinverters/optimisers when shading is unavoidable.
What conduit routing and electrical preparation should I include during construction?
Install continuous, labelled conduit from proposed PV locations to the DB, sized for DC or AC cable runs as advised by an electrician. Leave accessible entry points, allow spare capacity at the DB, and plan for inverter ventilation and battery placement if required. Good conduit routing saves costly rework later.
Who must carry out the electrical work and sign off on compliance in Benoni?
A registered electrician must perform and inspect the installation. They issue a Certificate of Compliance (COC) for the alteration to the DB or new circuits. Always ask for the electrician’s registration and a written COC — this is essential for insurance and municipal requirements.
Why is earthing and bonding important for PV installations?
Proper earthing and equipotential bonding protect people and equipment from faults and lightning-related surges. Installers must follow SANS standards for earthing conductors, surge protection, and isolation to ensure safe operation and valid insurance cover.
Do I need a structural assessment before mounting panels on my roof?
Yes. A structural check confirms the roof can support the additional dead and wind loads from racking and panels. Masonry, rafters or trusses may need reinforcement. This prevents long-term damage and ensures safe anchoring of the array.
What common pitfalls should builders and homeowners avoid during construction?
Avoid routing conduit through damp areas, undersizing conduit or DB space, ignoring shading or access, and skipping a COC. Also don’t place inverter or battery locations in poorly ventilated or wet spots. Planning ahead reduces retrofit costs and delays.
Can I integrate solar-ready features when renovating an older property?
Yes. During renovations you can add conduit routes, increase DB capacity, reinforce roof sections, and reserve space for batteries and the inverter. Doing this while other trades are on site is far cheaper than retrofitting later.
How does integrating these features affect property value and future costs?
Properties with prepared electrical and roof infrastructure tend to attract higher interest and sell faster. Upfront modest costs for conduit, DB provisions and structural checks reduce future installation time and labour, delivering long-term savings.
How can I find registered installers and get quotes through the platform?
Use our platform to request up to three quotes from local, registered contractors serving Benoni and nearby suburbs such as Brakpan and Boksburg. Compare proposals, confirm licencing and COC provisions, and ask for itemised costs on materials, labour and electrical work.
What should I confirm in writing before work starts?
Get a detailed scope listing conduit routes, DB upgrades, earthing work, structural reinforcements, access arrangements, lead times, guarantees on workmanship, and confirmation that a registered electrician will issue a Certificate of Compliance on completion.
Which brands or inverter types are commonly recommended in South Africa?
In South Africa, installers often work with reputable brands such as SMA, Fronius, Growatt and Victron for inverters, and Jinko, LONGi or Canadian Solar for panels. Choice depends on performance needs, warranty terms and compatibility with storage systems.
How much will preparing my property typically cost?
Costs vary by scope. Basic conduit runs and DB provision can be affordable; structural or extensive DB upgrades cost more. Obtain itemised quotes from local contractors to compare labour, materials, permits and the electrician’s compliance fee.
What permits or approvals are required in Benoni for this work?
Most electrical alterations need formal sign-off via a Certificate of Compliance from the registered electrician. Larger structural changes may require municipal approval. Check with your local authority in Ekurhuleni for specific permit rules before work begins.
How do I plan space if I intend to add battery storage later?
Reserve a dry, ventilated, secure spot near the DB with enough floor or wall space for batteries and clearance for maintenance. Ensure the route from battery to inverter is short and conduit is pre-installed to save time and cost later.
Ready to compare?