
Why Paint Peels and Bubbles
Moisture, poor prep and wrong products decoded – with the fixes that stop it coming back
In short
Why paint peels and bubbles – moisture, poor prep and wrong products decoded, with the fixes that stop it recurring.
12 min read
On this page
Have you ever wondered what really causes that stubborn patch of damaged finish on your wall? In Benoni and the Highveld, intense sun and shifting humidity can quicken failure. This short guide helps you spot the main culprit and take sensible steps straight away.
So why does paint peel? Moisture remains the primary issue. Leaks, condensation or high humidity let damp enter the wall and start paint peeling or flaking within a few years.
Expired or wrong products lose adhesion over time and shorten how long your finish will last. Quality interior coatings normally last 5 to 10 years, exterior around 5 to 7 years — factor that into painting costs — but poor prep shortens it.
This guide explains the common causes paint failure, practical fixes for a lasting paint job, and how to prevent paint peel next time. Read on to decide what to check, what to replace, and what to confirm in writing with contractors.
Understanding the Root Causes of Paint Failure
In Benoni, rising ground moisture and heavy summer downpours are often the hidden source of failing finishes. Rising damp carries groundwater up through masonry and keeps a wall permanently wet. That constant moisture stops coatings from bonding correctly.
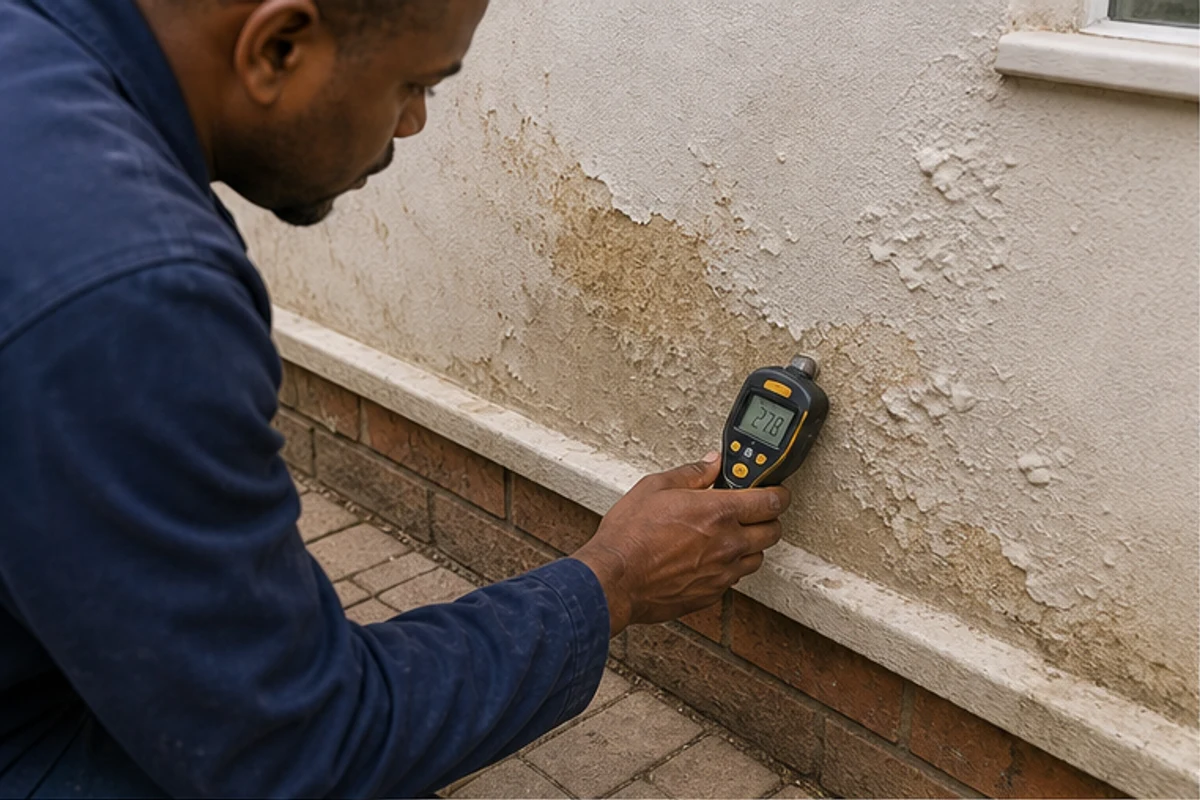
Lateral damp affects external areas where rain penetrates brickwork or mortar. Localised bubbling and peeling follow, especially after heavy storms.
Moisture and Environmental Factors
Moisture trapped behind a film creates vapour pressure. Bathrooms and kitchens are common trouble spots because steam and poor ventilation force water into layers behind the finish.
Identify the source before repairing — damp proofing contractors can trace it. If the wet source remains, any new primer or topcoat will fail again.
Incompatible Paint Layers
Applying latex over oil-based coatings, or old low-quality products, often leads to separation and flaking. Wood with natural oils can also block adhesion and cause blisters.
- Poor surface prep — dust, grease, or loose material — prevents bonding.
- Expired or low-grade paints lose adhesion, especially in humid zones.
Fix the moisture and prepare correctly; ask painting contractors for the right primer and compatible paints to restore lasting adhesion.
Why Does Paint Peel on Highveld Walls
Strong UV and wide temperature swings shorten the lifespan of coatings on exposed walls.
North and west-facing walls in Benoni take the brunt of sun and heat. That daily exposure breaks down exterior paint binders over time. Small cracks after hail let water enter plaster and stay trapped.
When moisture has no escape, the coating forms blisters and then starts peeling. Cold winter nights add condensation on masonry, which creates damp patches and can lead to mould.
- UV radiation weakens film and fades colour; exposure speeds failure.
- Post-hail water in hairline cracks causes local bubbling and loose patches.
- Repeat expansion and contraction from temperature swings stresses the finish.
- Persistent damp areas show the problem is moisture, not just a surface issue.
Simple checks help decide the fix: identify affected areas, seal cracks to stop water entry, and choose compatible primers before any painting. Ask contractors for quotes that list materials, access, labour and a clear scope in writing.
Identifying Specific Paint Failures
Look closely at the surface and note whether the failure shows as tiny blisters, brittle chips, or large sheets. Correct identification guides the repair step you choose and saves time on the job.
Bubbling
Bubbling starts when moisture or trapped air pushes up the finish, forming blisters that may burst. These small raised patches often appear after wet weather or in rooms with poor ventilation.
Treat bubbling by removing loose film, testing for underlying damp, and allowing the wall to dry before any primer or new coat.
Flaking
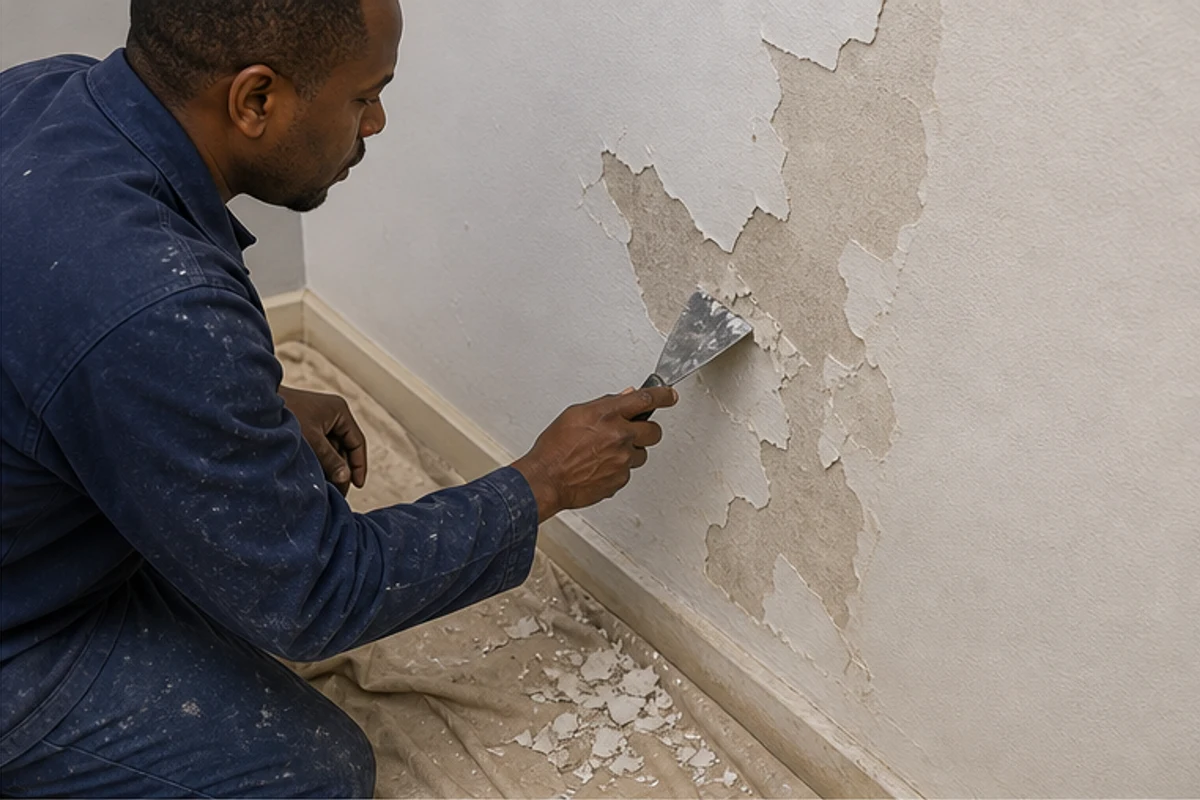
Flaking shows as brittle pieces lifting from the wall and is usually a sign of poor adhesion or the wrong primer. Scrape back to sound edges, check for old, incompatible layers and remove loose fragments.
Use a putty knife to fill cracks and holes, then sand the area smooth. A proper primer for the surface — wood or masonry — reduces the risk of repeat flaking.
Sheeting
Sheeting happens when large sections come away together. It often means the surface was not cleaned or keyed before painting.
Strip the loose sections, wash the substrate, repair cracks and sand area spots before applying suitable primer and two coats for a durable finish.
“Always test old coatings for lead before you start repairs on buildings built before 1978.”
- Match the failure type to the repair method.
- Dry the area fully; check for water sources.
- Use the correct primer for the type of surfaces — especially wood and concrete.
The Damp First Rule for Surface Integrity
Deal with the cause of moisture first; surface fixes fail if water keeps returning.
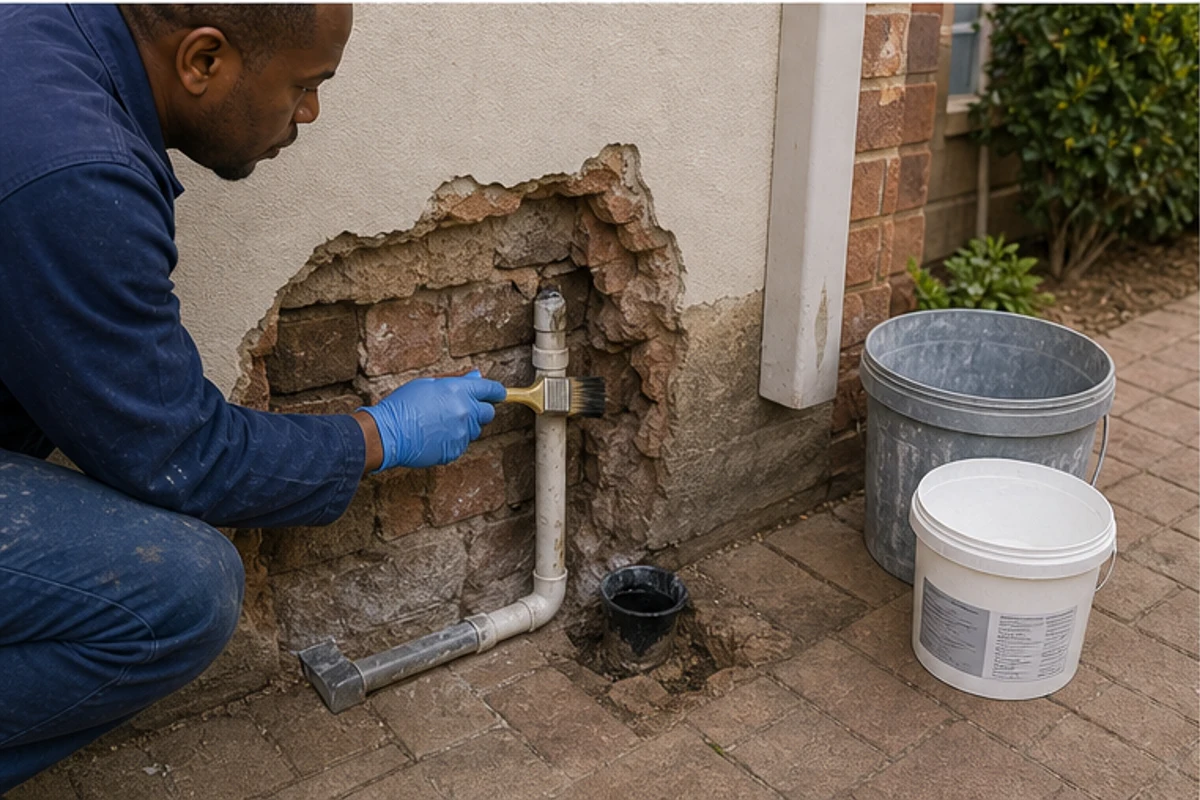
Start by identifying the water source: check plumbing, roof, gutters and ground drainage around the wall. If you skip this step, any new coat will show blisters or flaking inside a few months.
Treat visible mould with a fungicidal wash and let the wall dry fully. For base-level lifting near skirtings, rising damp is the likely cause and needs a professional inspection.
- Fix leaks and poor external drainage to stop recurring damage.
- Use a moisture-resistant primer only after drying — it manages residual damp but does not replace repairs.
- Seal and dry timber before you repaint; damp wood will keep causing failure.
“A permanent solution starts with finding the source, not covering the symptom.”
| Issue | Immediate step | When to call a pro |
|---|---|---|
| Rising damp at base | Remove skirting, dry wall, test for salts | Persistent moisture or large affected area |
| Leaking pipe or roof | Stop leak, dry substrate, treat mould | If leak source unclear or access limited |
| Poor ventilation (bath/kitchen) | Improve extraction, dry surfaces | Frequent condensation and recurring blisters |
Follow the damp-first rule to protect your investment and ensure a lasting finish in Benoni walls.
Essential Preparation Before You Repaint
Good preparation sets the stage for a paint job that lasts, especially on exposed Benoni walls.
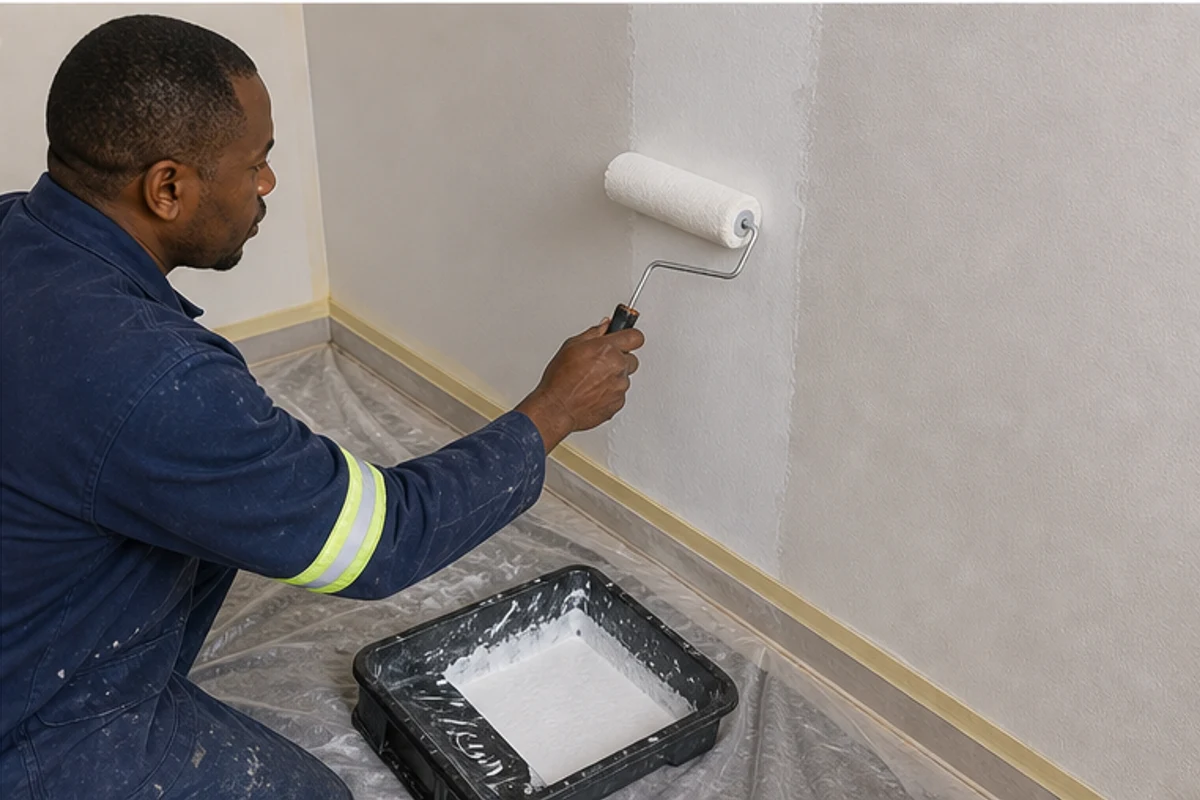
Start by testing older layers for lead if your home predates 1978. This is a safety step before any scraping or sanding.
Remove loose material, wash the surface and allow the wall to dry fully. Use a hygrometer where damp is suspected; do not prime until moisture levels are safe.
The Importance of Priming and Sealing
Choose a primer that matches the type of substrate. For concrete, cement and plasterboard use the 5101 Odour-less Wall Sealer to improve adhesion before you apply top coats.
For brickwork, seal with Vinilex 5170 to make the finish more durable. A good primer reduces the risk of future peeling and flaking.
Sand areas where old layers sit high so the new coat lies flat and invisible. Mask sockets and switches during work to protect fittings and speed the job.
“Apply a suitable primer and let it cure; skipping this step is the common route to early failure.”
- Remove loose paint and clean the surface thoroughly.
- Dry walls completely before priming.
- Match sealer type to the wall material for lasting adhesion.
Connecting with Professional Contractors in Benoni
A local site visit is the fastest way to learn if the issue is moisture, substrate or prior coats. An on-site inspection gives clear direction for the repair and saves money over guesswork.
Use buildingcontractorsinbenoni.co.za to request quotes from independent contractors who understand Benoni conditions. When you submit a request you may receive up to three quotes, or up to five where available, so you can compare service, materials and labour.
- Site access and scaffolding needs
- Material quality and primer type for the surface
- Labour hours, number of coats and cure time
- Any repairs to wood, plaster or masonry before topcoats
Trustworthy contractors will give an itemised quote that lists preparation, sanding, priming and final coat. Confirm in writing what is included to avoid hidden costs or repeat flaking.
Local experience matters: contractors in Benoni know which products last in strong sun and variable humidity. That local knowledge helps your paint job last for years and protects your finish.
“Ask for an itemised, signed quote that covers surface prep, materials and the number of coats.”
Ready to compare quotes? Request an inspection through buildingcontractorsinbenoni.co.za and let independent professionals assess your walls and provide clear, written proposals.
Securing a Lasting Finish for Your Property
A reliable repair follows clear diagnosis, correct preparation, and quality materials for each wall type.
Start by stopping the source of water and drying the area. Then match primer and top coat to the substrate so adhesion holds and flaking or paint peeling does not return.
Use this guide as a practical step-by-step for small patches or larger areas. For complex moisture issues, ask a professional to inspect and report the cause before you order new paint.
Request quotes through buildingcontractorsinbenoni.co.za — the platform helps you get up to three quotes, or up to five where available, from independent local contractors. Visit buildingcontractorsinbenoni.co.za today to start your quote request and protect your finish over time.
FAQ
What are the main causes of paint failure on Benoni walls?
Moisture, poor surface preparation and incompatible coatings top the list. Rising damp, leaks, condensation and exterior water ingress weaken adhesion. Skipping primer, leaving loose or chalky surfaces and using an alkali-sensitive topcoat over an unsuitable base also causes failure.
How does moisture create bubbling and blisters?
Trapped water or vapour under a coating turns to steam as temperatures change. That lifts the film and forms blisters or bubbles. Sources include leaking flashings, blocked gutters, damp masonry, poor flashing around windows and high indoor humidity.
What does incompatible paint layers mean and how will I spot it?
It happens when a new product won’t bond with the existing layer — for example, a solvent-based finish over a water-based primer, or low-quality emulsion over alkali-rich plaster. Signs are patchy adhesion, large sheets lifting, and rapid failure after repainting.
Why is the Highveld climate relevant to local wall finishes?
The Highveld has strong sun, wide temperature swings and seasonal storms. UV, heat cycling and overnight cold increase expansion and contraction in surfaces and coatings. That stress speeds up cracking, flaking and loss of adhesion if substrates aren’t prepared for local conditions.
What’s the difference between bubbling, flaking and sheeting?
Bubbling and blisters are raised pockets caused by trapped moisture or solvent. Flaking is small thin pieces detaching from the surface, often from poor adhesion or chalky substrates. Sheeting is larger areas peeling away in sheets, usually from systemic adhesion failure or incompatible layers.
How do I check whether a wall is damp before repainting?
Carry out a simple damp test with a plastic sheet taped over the wall for 24 hours; clouding indicates moisture. Use a moisture meter for quick readings. Also inspect for stains, salt deposits (efflorescence), mould and musty smells — these are clear signals to resolve damp first.
What surface preparation steps prevent future failure?
Remove loose or flaking material by scraping and sanding. Clean grease, mould and efflorescence with suitable cleaners. Repair cracks and allow repairs to cure. Apply an appropriate primer or sealer matched to the substrate and topcoat. Proper prep is the single most important step.
When is priming essential and which primer should I use?
Prime on new plaster, repaired patches, bare timber, exposed masonry and previously glossed surfaces. Use a bonding primer for difficult substrates, an anti-salt primer for efflorescent walls, and a moisture-tolerant primer where damp control remains an issue. Match primer chemistry to your finish coat.
How many coats and what drying time will give a durable finish?
Most interior jobs need two full topcoats after priming; exteriors often benefit from two coats of quality exterior paint. Follow manufacturer drying times between coats and allow repairs and primers to cure fully — rushing leads to adhesion problems and reduced lifespan.
Can I spot-repair small peeled areas or do I need a full repaint?
Small, well-prepared patches can be soundly repaired with proper sanding, priming and feathering of edges. If failure is widespread, due to damp, incompatibility or previous poor application, a full strip-and-prepare repaint is the best long-term option.
How do I fix recurring peeling caused by rising damp or leaks?
First, identify and repair the moisture source — damp-proof course, gutters, flashings or plumbing. Remove affected plaster if salts have built up, treat and replaster, then use a salt-blocking primer before repainting. Tackling the source prevents repeat failures.
What materials and workmanship should I confirm in a contractor quote?
Ask for brand names of primers and topcoats, number of coats, surface prep methods, repairs included, access and scaffold costs, workmanship guarantees and estimated drying times. Confirm exclusions like structural repairs or damp remediation so quotes are comparable.
How long can I expect a properly done exterior finish to last in Benoni?
With correct substrate repair, quality products and two coats, expect 7–12 years on walls in typical Highveld exposure. Lifespan varies with product quality, aspect, maintenance and local weather — north-facing and wind-exposed façades may need attention sooner.
Which local suburbs and jobs are contractors on the platform best suited for?
Contractors on our platform serve Benoni and nearby suburbs like Rynfield, Brentwood Park, Farrarmere and Lakefield. They handle external repaints, damp remediation, re-plastering, timber repair and new finishes. Request up to three quotes or up to five where available to compare materials and labour.
What warning signs should prompt an urgent call-out?
Rapid spreading of blisters, large sheet separation, recurring damp patches, mould outbreaks and visible salt staining all need prompt attention. Early intervention limits repair costs and prevents underlying structural or timber damage.
Which additional keywords relate to this FAQ for search and clarity?
Use these extra terms when searching or briefing a contractor: adhesion, substrate, sealant, primer, curing time, efflorescence, drying time, repaint, patch repair, timber decay, plaster repair, exterior paint, gloss to matt conversion, sanding, water ingress, condensation control and blisters.
Related building cost guides
Ready to compare?