
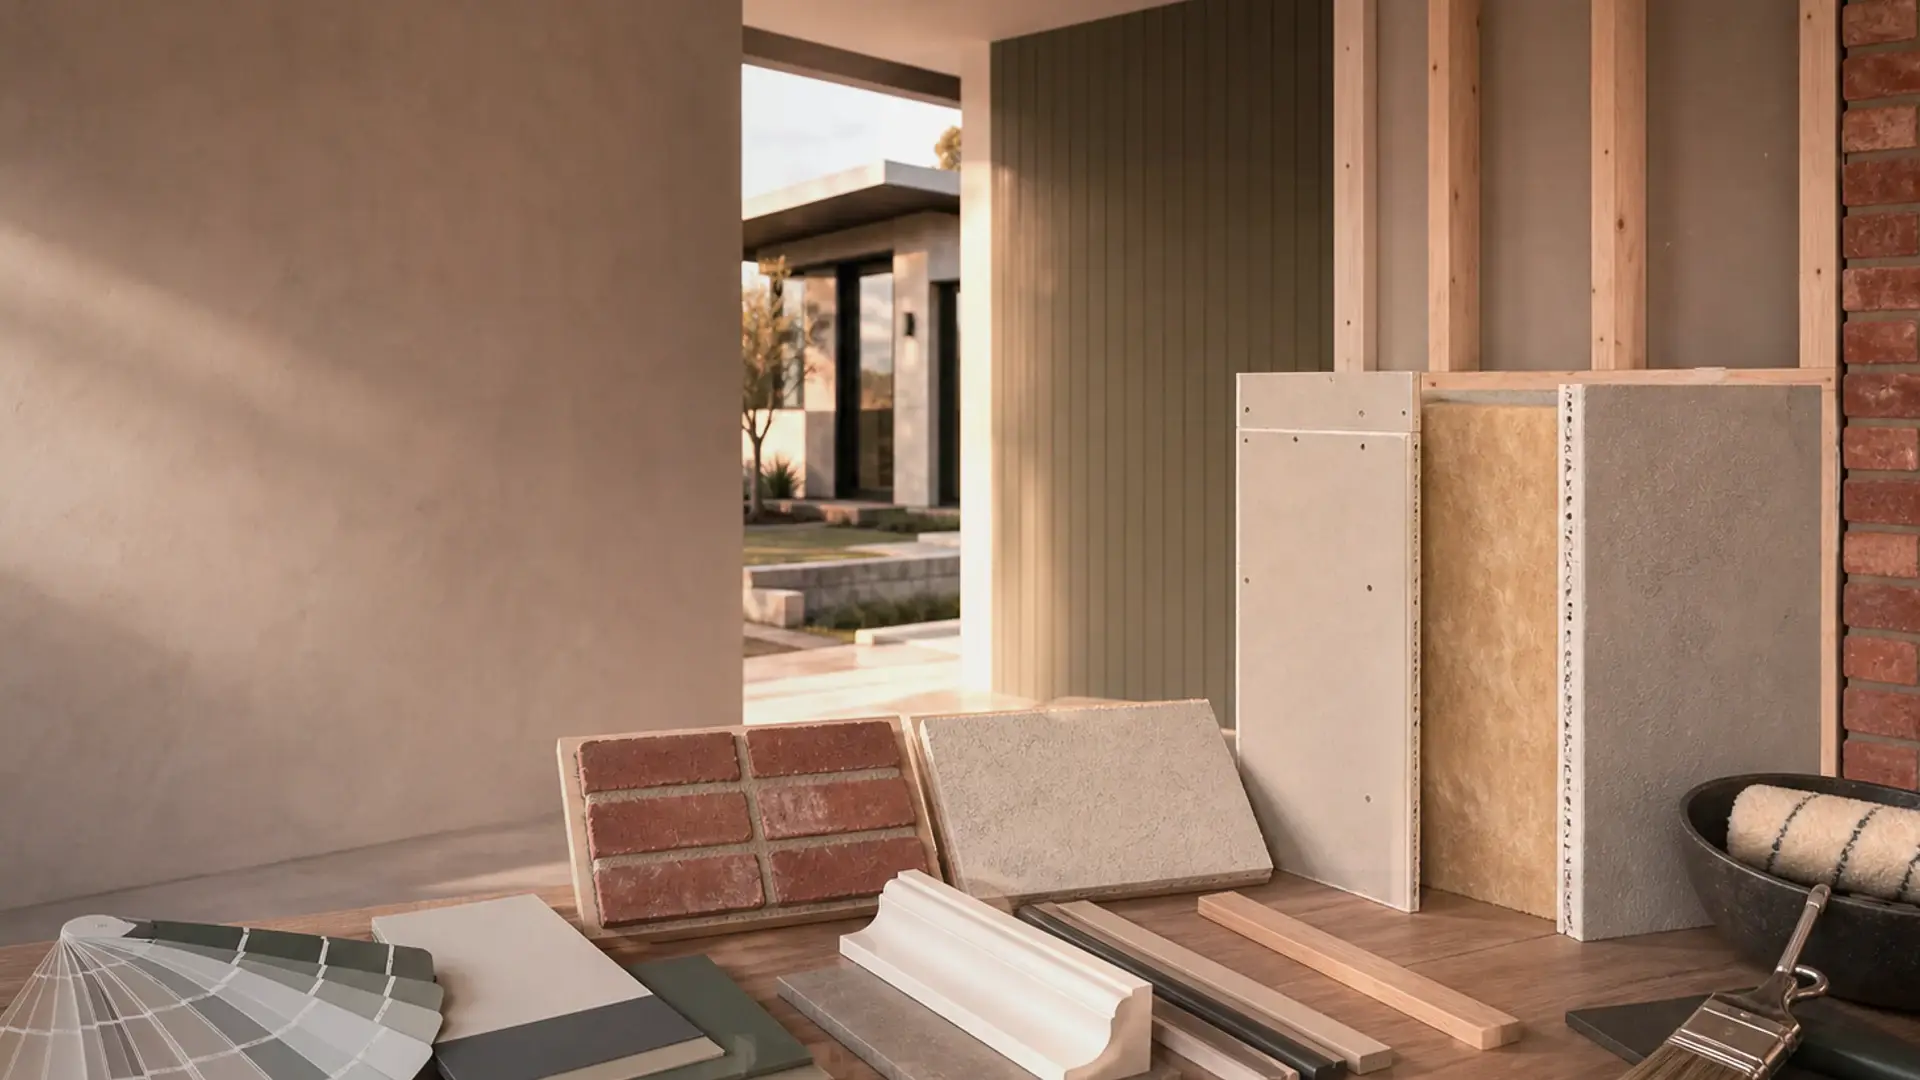
Skimming vs Plastering, Explained
What each involves, which wall conditions need which, and why the wrong call wastes money
In short
Skimming or replastering – what each involves, which wall conditions need which, and why the wrong call wastes money.
11 min read
On this page
Curious which method gives a longer-lasting finish for your Benoni home — a full plaster build-up or a thin skim coat?
With skimming vs plastering explained, the difference is clear: plastering builds a new plaster foundation with multiple coats, often totalling 10mm or more. It suits older walls or those with damaged surfaces that need rebuilding.
Skimming uses a thin coat of finishing plaster, typically 2–5mm, to refresh a sound wall. It is quicker and cost-effective when the underlying surface is stable.
Knowing the difference helps you plan time, materials and budgets. Check the wall condition, age of your home and intended finish before choosing a method.
Read on to learn which process matches your wall, what to confirm in writing, and how the right choice prevents costly rework.
Key takeaways:
Plastering builds a new surface; skimming refines an existing one.
Plaster thickness, time and surface condition determine the correct choice.
Understanding the Core Differences Between Skimming vs Plastering
One method reconstructs a wall surface, the other simply smooths imperfections for painting and decoration in Benoni homes.
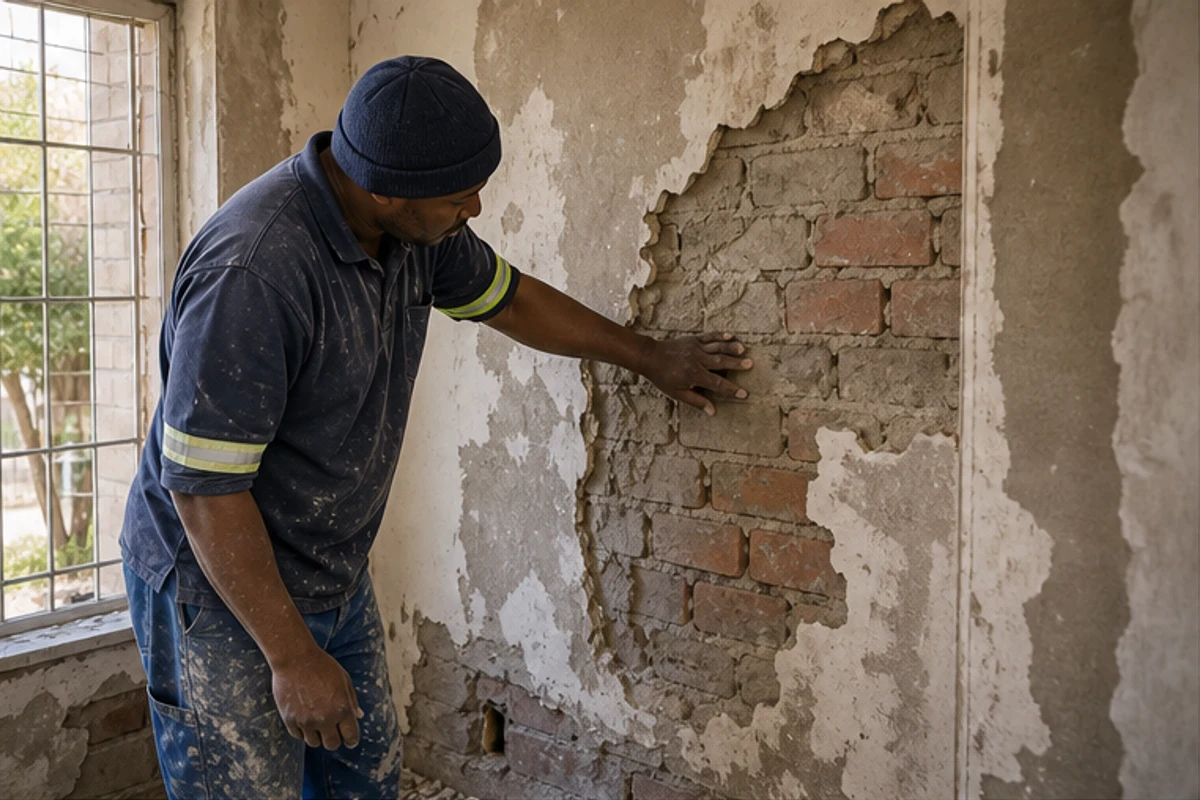
Plastering contractors build a new, durable surface on internal walls and ceilings. It is the right choice when a wall is damaged, uneven or newly built.
By contrast, skimming repairs dents, hairline cracks and minor texture issues on an otherwise stable surface. A thin skim helps you achieve smooth results quickly before you paint or wallpaper.
“Choose the approach that matches the wall condition; the wrong choice leads to extra cost and rework.”
How a job affects final appearance depends on surface prep, the chosen finish and the contractor’s skill. Our platform helps you compare outcomes and plastering prices so you can ask the right questions before any project starts.
- Plaster — builds new surfaces for long-term durability.
- Skim — refines an existing wall to a paint-ready finish.
Get a local assessment to confirm the best choice for walls, ceilings, damp proofing and your painting plan.
Defining the Technical Scope of Plastering
A proper plaster job starts with a bonded base and builds up to a finished surface ready for decoration. This section outlines the core steps, materials and expectations for plaster and drywall partitioning in Benoni homes.
Base Coats and Bonding
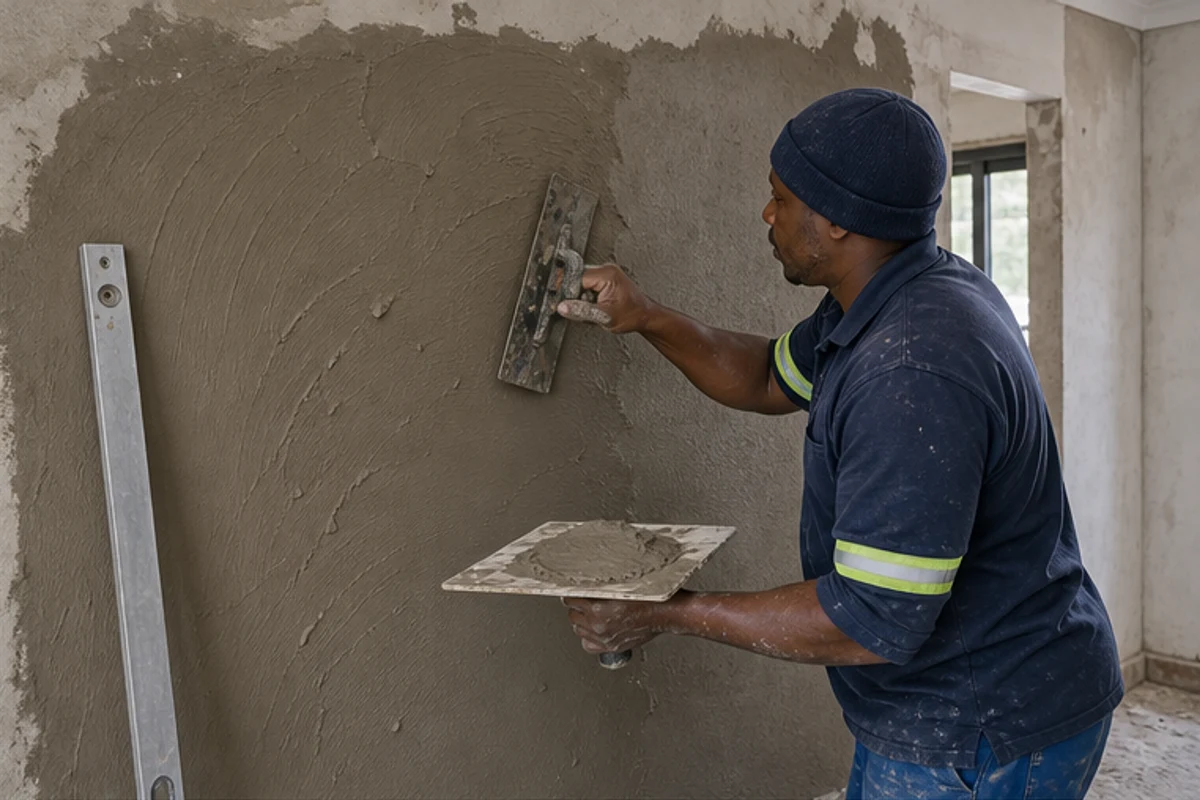
The process usually involves applying a base coat of bonding plaster or hard wall plaster to secure the substrate. Professionals select lime or cement mixes depending on the construction and need for insulation or fire resistance.
Builders may use wet plaster layers or opt for dry lining with plasterboard fixed to a frame. Base layers help fill gaps and cracks between bricks and improve the long-term stability of masonry walls.
Finishing Techniques
After base bonding, craftsmen apply finishing coats such as multi-finish to produce a smooth surface for paint or wallpaper. Multiple coats and a target thickness of around 10mm or more give durability and a flat finish for ceilings and walls.
Allow proper drying time—typically 3 to 7 days—before sanding, priming or decorating. Correct application and technique prevent imperfections and reduce the need for rework.
- Key points: base coat, correct materials, layered application and drying time.
- These steps ensure a durable finish that meets local construction standards in Benoni.
The Role of Skimming in Modern Home Renovations
In modern Benoni renovations, a thin finishing coat can revive tired walls without a full rebuild.

Surface Preparation Requirements
Skimming uses a thin layer of finishing plaster or joint compound, typically 2–5mm, and is ideal where the existing base is sound.
Before application, clean surfaces and remove loose paint or dust. Apply a bonding agent where old paint or hard surfaces may prevent adhesion.
Ensure the wall is stable. If the substrate shows movement or deep cracks, a full plaster rebuild may be needed to avoid future failures.
- Technique: the process involves applying an even skim coat to hide minor imperfections and hairline cracks.
- Drying time: thin applications usually dry within 24–48 hours, depending on room ventilation and temperature.
- Finish: a quality skim produces a smooth finish ready for paint or wallpaper.
- Use on ceilings: careful application can improve ceiling appearance but requires good access and safety precautions.
For a reliable result, confirm surface prep, bonding steps and expected drying times in writing when you request quotes. Our platform helps you achieve smooth surfaces that are ready for painting and wallpaper without surprises.
Assessing Wall Conditions for Optimal Results
Start with a short, practical inspection of walls and ceilings in your Benoni home. Check stability, moisture and any loose material before deciding the best method.
Sound Walls
If the wall is stable and solid, minimal preparation is needed. A clean, dry surface accepts a thin coat or a skim coat and gives a long-lasting finish.
Drummy or Hollow Plaster
Tap-test any suspect areas. A drummy or hollow sound shows a loss of adhesion and usually needs removal.
- Remove loose plaster and prepare bonding with suitable materials such as cement or multi-finish where required.
- After removal, rebuild in layers to restore insulation and structural integrity before any finishing coat.
Managing Cracks
Identify hairline versus structural cracks. Hairline cracks often respond to a thin skim or repair compound.
Deep or recurring cracks signal movement or moisture and may need full plastering and new bonding layers.
“A correct assessment prevents the false economy of a quick skim over failing surfaces.”
The False Economy of Skimming Over Failing Surfaces
A cosmetic coat over crumbling or damp plaster rarely lasts and can hide deeper problems.
Skimming over a failing surface in Benoni often leads to cracking or peeling within months. A new finish looks fine at first but fails if the base is loose or damp.
You must repair any loose or damaged areas before a new skim coat. Address damp, remove crumbling material and fix deep cracks. Only then is a thin coat a viable option.
- Trying to save money by covering damaged plaster often creates repeated costs later.
- Ensure the wall is structurally sound before any application of a layer or new coat.
- Professional assessment helps identify lost adhesion and hidden moisture.
“Prioritise structural repairs over cosmetic work to protect your interior surfaces.”
| Issue | Risk of Skim | Recommended Action |
|---|---|---|
| Crumbling plaster | New layer peels | Remove and rebuild with proper plaster |
| Damp walls | Coat detachment, mould | Fix moisture source, dry, then apply finish |
| Deep cracks | Recurrent fissures | Stitch, repair substrate, then finish |
Our platform advises getting a local contractor in Benoni to inspect surfaces and confirm whether plastering or a skim makes sense for long-term results.
Financial Considerations and Plastering Price Guides
Compare lifespan and labour to get value for money. Plaster commonly lasts 20–40 years, while skimming typically endures 15–25 years depending on application quality and materials.
Costs vary widely. Expect higher labour and material costs for a full plastering job than for a thin skim coat. Factors that affect price include room size, wall condition, access, and the thickness of layers.
When you request quotes, ask for a detailed breakdown. Confirm materials (cement, lime, insulation), number of coats, drying time and any extra site work.
- Our quote process helps you compare up to three independent contractors in Benoni.
- Check that each quote includes labour, materials, site access and expected drying times.
- Discuss your finishes — paint or wallpaper — so the quote covers preparation and final appearance.
“A clear, written quote prevents surprises during construction and keeps your budget on track.”
Connecting with Professional Contractors in Benoni
A site visit from a qualified contractor in Benoni gives the clarity you need to choose the right finishing method for each wall in your home.
buildingcontractorsinbenoni.co.za helps you start that process quickly. Use the site to request local assessments and collect realistic, written quotes.
- Compare quotes: obtain up to 3 building quotes, or up to 5 where available, to weigh materials, labour and timelines.
- Specialist advice: find contractors who understand when a skim coat is appropriate and when deeper rebuilding is needed.
- Project control: manage access, inspections and final sign-off through the platform so nothing is left unclear.
Please note the platform connects you with independent experts; it does not perform the work itself. Each contractor handles site visits, final quotes, schedules and warranties.
Start your project today: visit buildingcontractorsinbenoni.co.za to request your quotes and secure a qualified local contractor.
Finalising Your Approach to Wall Restoration
A clear inspection and realistic brief make the right finish and cost achievable for your ceilings and walls.
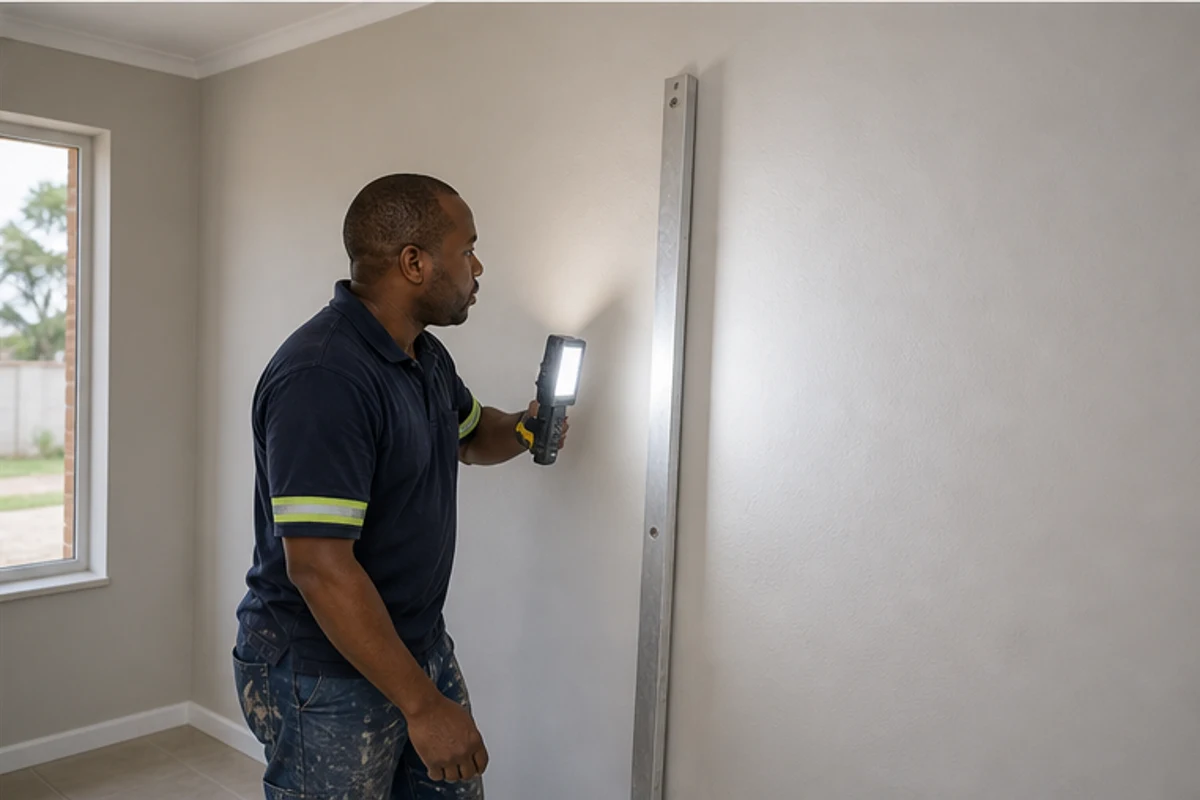
Finalising your approach requires you to decide if the wall needs a full plaster rebuild or a thin skim layer. Confirm the process, materials and labour in writing before work starts.
Use buildingcontractorsinbenoni.co.za to request quotes and get local expert guidance for your project. The platform connects you with contractors who assess surfaces and confirm scope on site.
Choose the correct method and you secure a smooth surface and a lasting finish that raises the value and look of your home. Take the next step at buildingcontractorsinbenoni.co.za to request quotes and appoint the right specialist.
FAQ
What’s the main difference between skimming and plastering for walls and ceilings?
Skimming applies a thin final coat to produce a smooth finish ready for paint or wallpaper. Plastering includes one or more thicker base coats followed by a finish coat and creates structural surfaces, repairs hollows and levels out poor masonry. Choose skimming for sound, even surfaces; choose plastering when you need to build up thickness, improve bonding or repair damaged render.
Which wall conditions need full plastering rather than only a skim coat?
Full plastering is needed for very uneven walls, new brickwork or blockwork, drummy or hollow plaster, and surfaces with widespread cracking or failed render. Also use plastering where you require insulation-backed systems or multi-coat cement or lime mixes for durability and bonding.
How thick are plastering base coats compared with a skim coat?
Base coats in plastering are typically several millimetres to a few centimetres thick depending on the system and substrate. A skim coat is usually 1–3 mm and intended solely to smooth and conceal minor imperfections before painting.
What surface preparation is needed before a skim coat or plaster?
Clean loose debris, remove flaking paint, plug deep holes, and fix any active leaks. For skimming, ensure the surface is sound and primed for bonding. For plastering, apply bonding agents or a scratch coat and, where necessary, use mesh on hairline cracks or joints to prevent re-cracking.
Can you skim over old plaster that sounds hollow or drummy?
No — you should not skim over drummy plaster. Hollow areas must be repaired or replaced first; otherwise the skim coat will fail. Remove loose plaster, secure sound sections with mechanical fixings or treat with a full re-plaster where necessary.
How are cracks managed when choosing between skimming and plastering?
Hairline cracks on stable surfaces can be filled and skimmed. Structural or recurring cracks need investigation, crack stitching or a new multi-coat plaster system with reinforcement before finishing. Temporary skimming over active cracks is a false economy.
How long does each process take to apply and dry?
A single skim coat can be applied in a day on an average room but needs 24–48 hours to dry before sanding and painting, depending on humidity. Full plastering with base coats can take several days to a week for application and drying between coats. Cement-based systems may take longer to cure.
What materials do contractors use for skimming and plastering?
Skimming uses fine finishing plaster or gypsum-based skim-coat compounds. Plastering may use cement/sand renders, gypsum plasters, or lime-based mixes for heritage work. Contractors select mixes for bonding, thickness, and room conditions such as bathrooms or ceilings.
Is skimming cheaper than a full plaster job?
Skimming is usually less expensive because it uses less material and labour, but only when the substrate is already sound. Attempting to skim failing or hollow surfaces often leads to repair work later, making it a false economy compared with the right plastering up front.
Can you skim ceilings or are they always plastered?
You can skim ceilings if the original surface is sound and well fixed. Large damaged or sagging ceilings typically need re-plastering with proper backing and possibly mesh reinforcement to ensure long-term performance.
How do I decide between gypsum skim and cement-based plaster in Benoni homes?
Use gypsum skim indoors on dry, sound walls and ceilings for a smooth finish. Choose cement-based plaster where moisture is a risk, on exterior walls, or where you need a robust substrate for tiling. Confirm local climate and room use with contractors when getting quotes.
What should I confirm in writing when requesting plastering or skimming quotes?
Ask for scope of work, materials and brands, number of coats, drying times, surface preparation, clean-up, warranty or guarantee, labour rates, access requirements, and whether electrical or plumbing trims are included. Request site visits from up to 3 independent contractors to compare proper quotes.
Which suburbs around Benoni have contractors who do both skimming and plastering?
Skilled contractors cover Benoni and nearby suburbs such as Rynfield, Farrarmere, Northmead, and Lakefield. Confirm each contractor’s experience with Ceilings, render repairs, lime or gypsum finishes, and local building approvals during the quote process.
What are common finishing techniques after skimming or plastering?
After drying, finishes include sanding, mist-coat priming, paint, textured paint, or wallpaper. For wet areas, tiling over a cement-based render or backer board is standard. Discuss the intended final finish with your contractor so they prepare the correct substrate and finish thickness.
Related building cost guides
Ready to compare?